FOOD, GLORIOUS FRIENDLY FOOD
  • Home
  • Recipes
  • About Me
  • Weight and Temperature Conversions

 Food, Glorious Friendly Food  

Recipe Categories

All
Baked
Beef
Biscuits And Slice
Breakfast
Cakes Muffins Brownies
Chicken
Chocolate
Christmas
Dinner
Dips And Sauces
Drinks & Ice Blocks
Easter
Fruit
Lunch
Lunch Boxes
Meat
Paleo
Pastry
Pork
Preserves
Raw
Salad
Seafood
Snack
Soup
Sweet
Vegetarian

Friendly food for Chocoholics

Honey Mustard Sauce

15/10/2019

 
Picture
   I make this a LOT! It's so quick to throw together and is a wonderful dipping sauce for crumbed chicken or fish (see my recipe for fish and chips here...and you can basically follow the same method for crumbing chicken as I do with the fish, just leave out the dill). A small amount of this sauce goes a long way as a salad dressing. It's great for dipping vege sticks into for a light snack, or as part of a nibbles platter.
     By the way, I haven't listed what the recipe is 'free from' as it will depend on the type of mayonnaise and mustard you use- you choose the ones that suit your requirements.  If you want to make your own, I've got a great base recipe here.
Ingredients:
  • 1/4 cup mayonnaise (of your choice)
  • 2 Tablespoons raw honey  (or to taste)
  • 3 tablespoons Dijon mustard
Method:
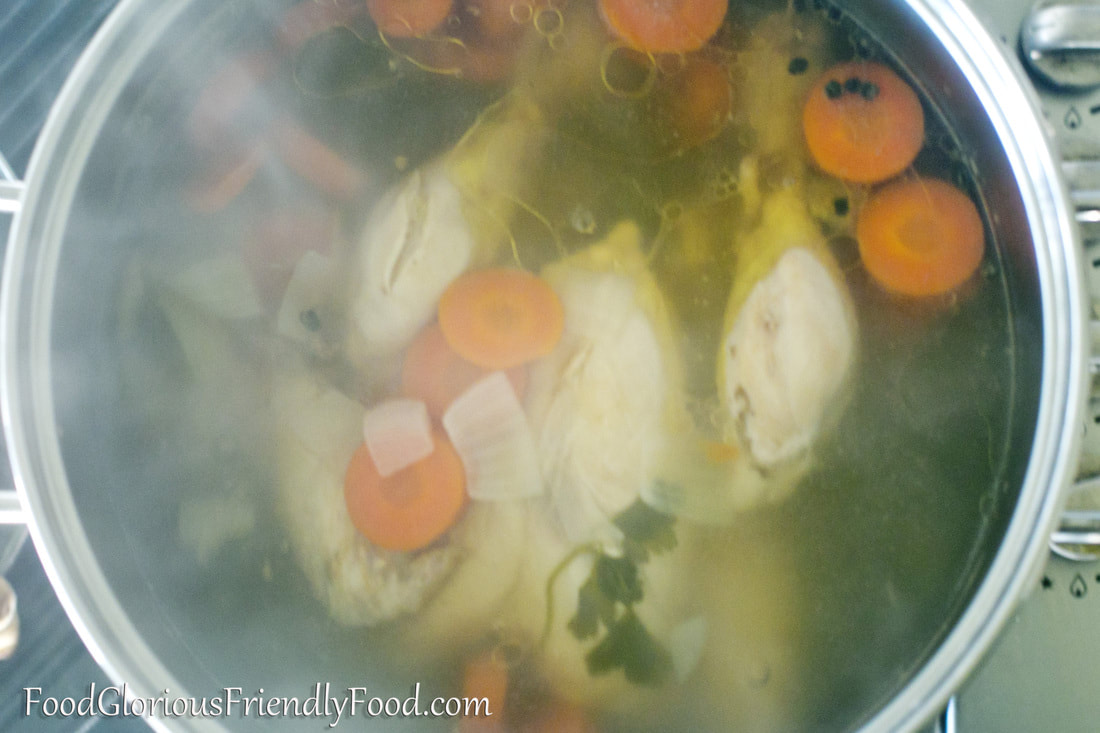
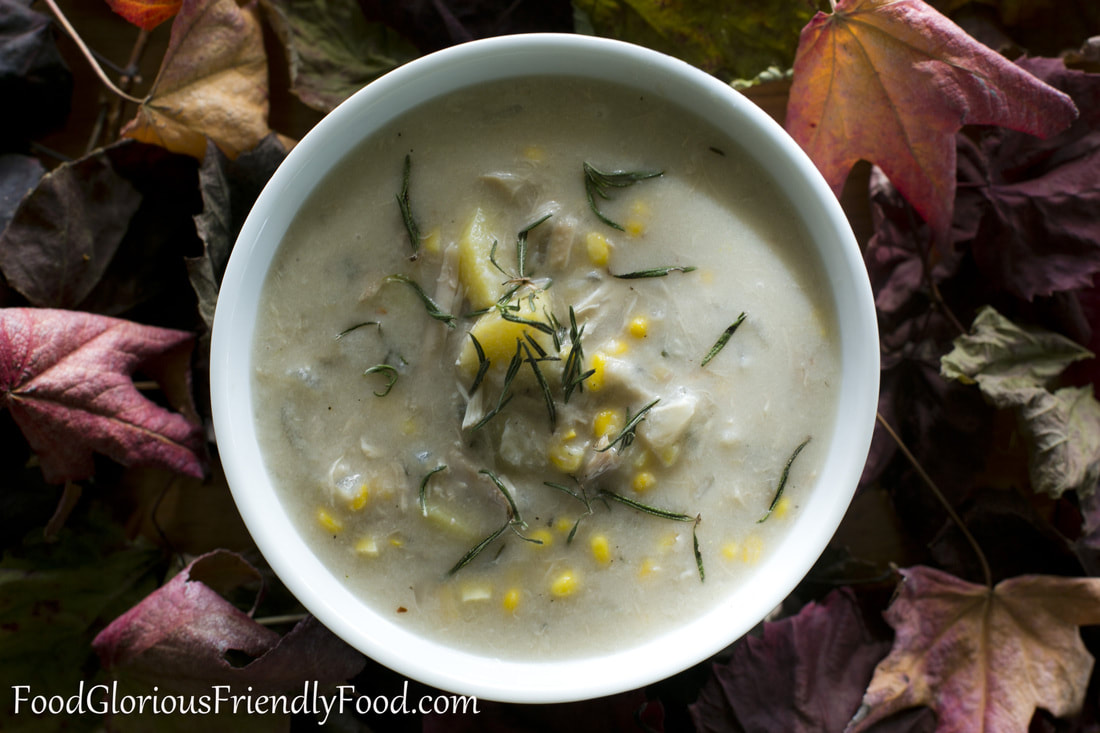
Place all ingredients in a bowl and mix vigorously with a spoon or whisk until well combined and smooth. That's it!!
Picture

Chicken, Potato and Corn Chowder

15/10/2019

 
Picture
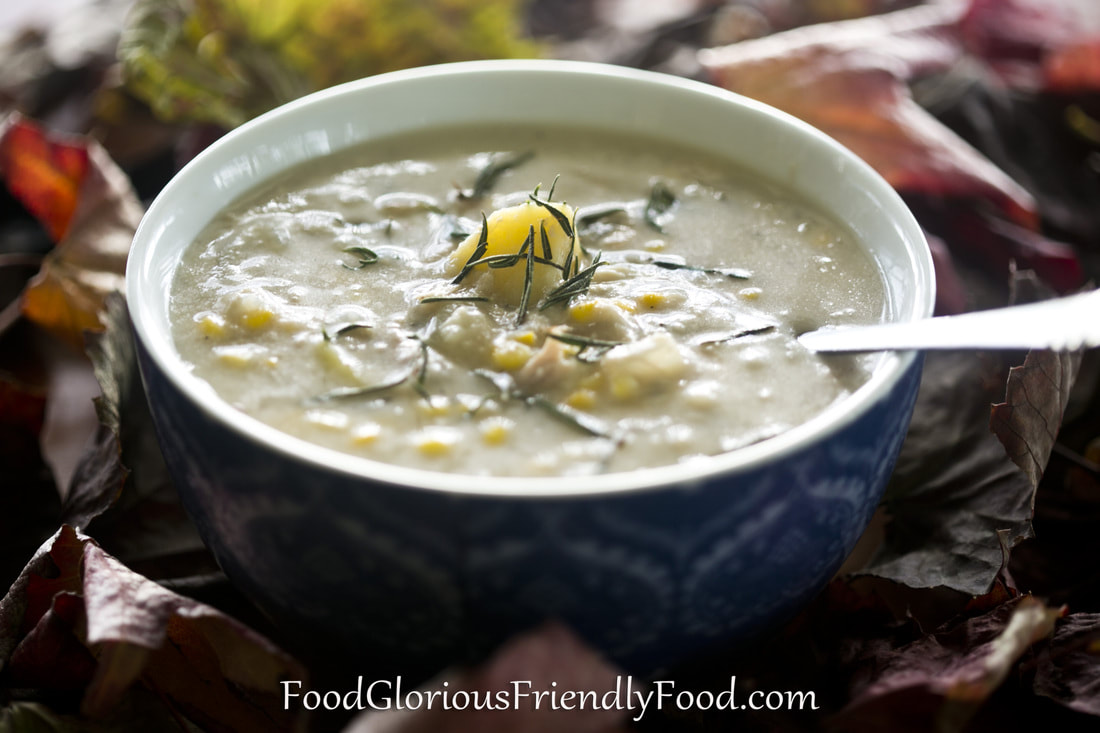
Gluten free - dairy free - sugar free - nut free - egg free - can be vegetarian
    In June 2013 one of my besties, who lives across the ocean, posted on Facebook that she was making a batch of potato and corn chowder. I thought that it sounded good and asked for the recipe. She sent it through with the note saying it is incredibly basic, and not to get too excited about it! She was right- it was incredibly basic - but with so much potential! So, I've tried it a couple of times now with my own additions and I'm excited to share the result. The original recipe came from a book Called Mom's Best Country Recipes- a small paperback tourist cookbook that my friends Mum (Mom) brought back as a gift from the Ozarks of Missouri. Sounds homely, hey? It is!  And it's just perfect for this time of year as winter comes upon us.
    I've figured out a process to make this soup at the same time as you make a big batch of chicken stock- enough for the this soup and at least another 2 soups! I love saving time! If you don't have time to have the stock boiling for 2-3 hours before you make the soup, that's fine, just use pre-made stock (chicken or vegetable), and leave the chicken out. I originally made it without chicken and it's still really good. Or, this would be a great soup to make with any leftover meat after a roast chicken dinner. But, let me say, if you have the time to boil the chicken and make the stock from scratch, this will be one of the best immune-boosting, healthy soups you will make. Research has now proven that mum's good old cold-and-flu remedy of chicken soup (made from chicken on the bone) really does boost the immune system. Combine that with the ginger and garlic I've added to the soup, and you've got a winner. You add the ginger and garlic right at the end, to retain most of it's wonderful nutritious properties.
     Serves 4 as a main.
Picture
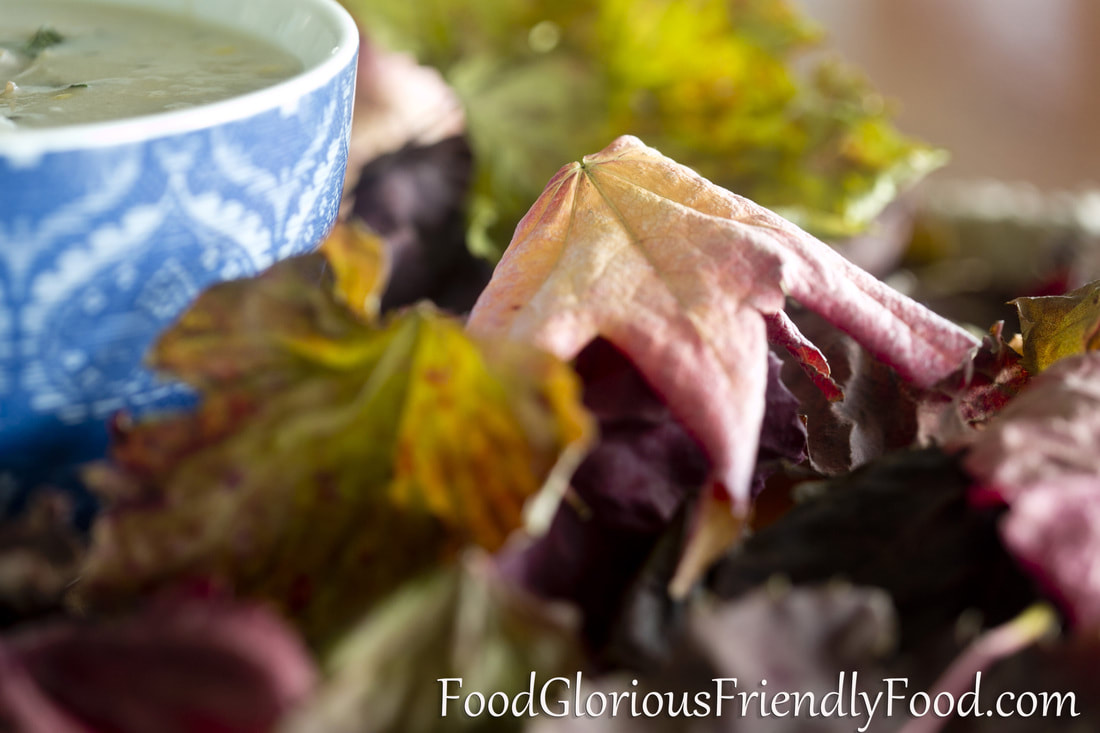
Ingredients for the stock:
  • 2 onions
  • 3 carrots
  • 2 celery sticks
  • tablespoon whole peppercorns
  • 2-3 bay leaves
  • 1 teaspoon salt
  • a few sprigs of parsley if you have it
  • one whole organic or free range chicken
Method for the stock:
  • If you don't want 'grease' in your soup, skin the chicken. Don't freak out, it's quite easy! Find a spot that you can grab the edge of the skin and just start pulling. It comes off quite easily. Cut away any chunky bits of fat that didn't come off with the skin.
  • Put all your ingredients into the pot and cover with water, filling as high as possible without risking it overflowing when boiling. My pot is quite large- I had about 6 litres of water. If your pot is smaller, reduce the amount of ingredients or you'll have a very strong stock.
  • Bring to the boil over high heat, then reduce to low and simmer away for at least 2 hours- 3 is better!!
  • Remove the chicken and once it has cooled a little, shred it into small, bite-sized bits. You'll need about half of it for the soup. Save the other halve for another meal or sandwich meat.
  • With a slotted spoon, remove all the vegetables and peppercorns from the stock and discard. You will be left with a lovely liquid stock- some of which you will put into your soup. I put the rest in 1 cup quantities into zip lock bags and freeze them for later.

    Ingredients for the soup:
  • 4 medium sized potatoes, dices into small (1cm) cubes
  • 3 cups chicken stock (pre-made, or see directions above)
  • Shredded cooked chicken meat from half a chicken or two large breasts
  • 1/2 cup almond milk (or other non dairy milk)
  • 2 small onions, diced into small 1cm pieces
  • 2 large corn cobs, kernels stripped off, OR about 1 1/2 cups frozen corn kernels
  • 1/4 teaspoon pepper
  • 1 teaspoon salt
  • 2 tablespoons rosemary, finely chopped (you could use parsley if you don't have rosemary)
  • 2 tablespoons brown rice flour(or white if preferred)
  • 1 tablespoon organic butter or coconut oil
  • 4-6 cloves garlic (depends how much you like garlic- I like a lot!)
  • 1 teaspoon freshly grated ginger (or minced if you don't have fresh, but fresh is best)

     Method for the soup:
  • Put butter or oil into a large soup pot and turn onto med heat. When butter or oil has just melted, add onion and saute until slightly coloured.
  • Add flour and stir constantly for about 20 seconds till it is slightly brown.
  • Add potato, corn and rosemary or parsley and stir briefly until coated in flour and onion.
  • Add stock and milk. Bring to boil and cook until potatoes are very tender.
  • Add the reserved chicken, garlic and ginger. Season.
  • Boil for a minute, check flavour for seasoning and adjust if necessary.
  • Serve in bowls, with some garlic bread or bread rolls if desired.
Picture
Picture

Marinated Sheep Feta

4/9/2019

 
Picture
Picture
Picture
Picture
Gluten free - grain free - dairy free - refined sugar free - nut free

I think this is really more of a money-saving idea than a recipe. I love feta. I have met few people that don't. I eat sheep milk feta as I tolerate it much better than cow's. The most economical way to buy it is in big tubs, but I find that it goes off quicker than I can eat it. I used to find myself throwing it away wondering if I'd really saved money at all. Marinating it in olive oil and keeping it in the fridge makes it last almost indefinitely and gives it such a wonderful flavour. So, now you can buy the big tubs without fear of waste.   You need to assemble the ingredients in sterilised jars. There are many methods to sterilise jars, but I do it by washing the jar and lid thoroughly either in the dish washer or in hot soapy water, then I put them into a pre-heated oven at about 110 degrees Celsius until they are dry. That temperature will kill of all the germs. Try to assemble ingredients into the jars as soon as they are cool enough to handle.
     I find that a 450g tub of fetta fits in a 500ml jar. 

Serving Suggestions
  • crumbled over a salad,
  • as an alternative to other cheese on top of pizza (it bakes nicely),
  • as a spread on a salad sandwich
  • on toast with some cracked pepper,
  • with smoked salmon on a cracker or on toast, with some chives and cracked pepper sprinkled on top,
  • on crackers or on toast with tomato and basil,
  • as part of a cheese platter
  • Once fetta is finished, keep the remaining oil in the fridge and use as salad dressing. Yum!
Ingredients
  • Tub of Sheep Feta (or Goat, or cow if you can tolerate it). Whatever size you like. The quantity of the rest of the ingredients will vary depending on how much feta you have
  • Extra Virgin Olive Oil
  • Halved garlic cloves, peeled (about 4 cloves per 500ml bottle)
  • herbs of choice (basil, parsley, oregano are nice options)
  • Sterilised Jar/s
Method
  • Cut feta into cubes about 2x2cm.
  • Place the cubes into a sterilised jar, layering with the halved garlic cloves and herbs as you go. Fill to just below the top of the jar.
  • Pour olive oil into the jar slowly, filling in all the spaces. Tap base of jar on the bench top a few times to make sure the oil has gotten into every crack. Fill the jar as close to the top as possible.
  • Close jar tightly with lid. Store in the fridge.
  • Preferably let the jar sit unopened for at least a couple of weeks before using the feta, to let all the flavours infuse.
<<Previous
Forward>>

    Categories

    All
    Baked
    Beef
    Biscuits And Slice
    Breakfast
    Cakes Muffins Brownies
    Chicken
    Chocolate
    Christmas
    Dinner
    Dips And Sauces
    Drinks & Ice Blocks
    Easter
    Fruit
    Lunch
    Lunch Boxes
    Meat
    Paleo
    Pastry
    Pork
    Preserves
    Raw
    Salad
    Seafood
    Snack
    Soup
    Sweet
    Vegetarian

    See my book:  friendly food for chocoholics
    Weight and Temperature Conversions
Proudly powered by Weebly
  • Home
  • Recipes
  • About Me
  • Weight and Temperature Conversions