FOOD, GLORIOUS FRIENDLY FOOD
  • Home
  • Recipes
  • About Me
  • Weight and Temperature Conversions

 Food, Glorious Friendly Food  

Recipe Categories

All
Baked
Beef
Biscuits And Slice
Breakfast
Cakes Muffins Brownies
Chicken
Chocolate
Christmas
Dinner
Dips And Sauces
Drinks & Ice Blocks
Easter
Fruit
Lunch
Lunch Boxes
Meat
Paleo
Pastry
Pork
Preserves
Raw
Salad
Seafood
Snack
Soup
Sweet
Vegetarian

Friendly food for Chocoholics

Cheat Choc Caramels

17/11/2019

 
Picture
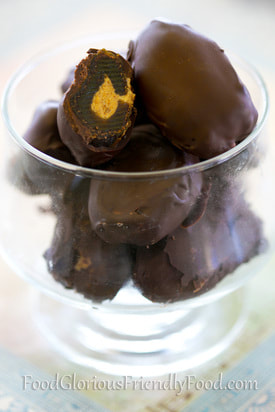
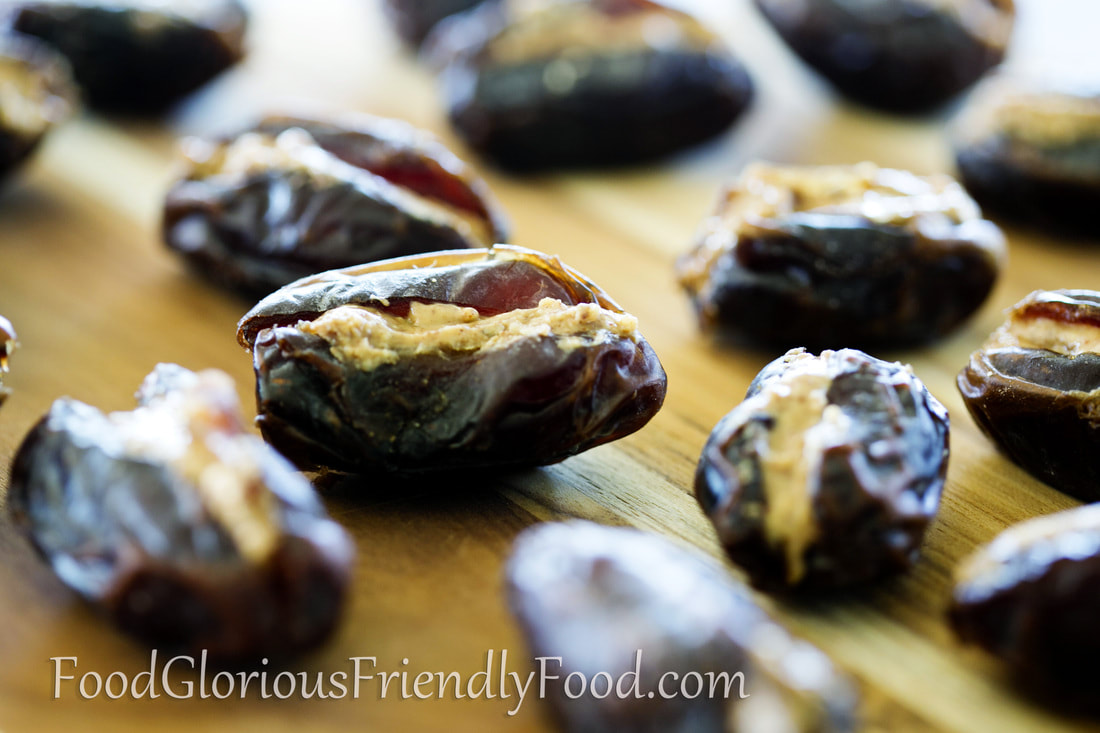
There are some recipes that really don't qualify as recipes because they're so crazy-simple.  This is one of them.  But it's not stopping me because I really need to share the brilliance of these little gems with you.  One day I was thinking about the delightful little morsels that my friend Jessica once introduced me to:  medjool dates stuffed with marscapone and an almond.  They make a fantastic hors d'oeuvre.  I wondered what else I could stuff a date with that was dairy free, and my mind went to almond butter.  Now, I know from my Salted Caramel Chocolate Bar recipe that dates and almond butter make brilliant faux-caramel.  So, an idea was born.  Then my chocoholic foodie brain couldn't stop there, and I had to step it up a notch and coat them in chocolate (of course!).
   
     So, I share this with you for those moments when you just need a little something for a pick-me-up.  Something to tide you over the mid afternoon slump.  Something to sooth you through the evening  grumpy hour (or hours) with your kids.  Something to relax with over a cup of coffee (or Friendly Hot Chocolate) when you need some me-time.   You can ditch the chocolate and just eat the date stuffed with the almond butter and it's really good.  But trust me, take the time to dip them in chocolate and keep a batch in the freezer for those emergency moments when you need a little something that says 'you can do this...keep going'.  I think you'll thank me for it.   
Picture
Ingredients:
  • 16 Medjool Dates (the large, soft variety)
  • 100g (3.5 oz) dark chocolate (at least 70% cocoa)
  • about 1/4 cup pure almond butter

Method:
  • Line a small baking tray with baking paper.
  • Cut dates long-ways down the middle until you hit the seed (do not cut all the way through).
  • Remove the seed
  • Fill the cavity with 1/2 teaspoon almond butter per date
  • Eat them now or place them all on the baking tray in the freezer to firm up for at least half an hour and then coat with chocolate (the chocolate sticks to the date much better if it has been frozen first)
  • Melt the chocolate in a double boiler  (place a glass or ceramic bowl over a saucepan with a little water in the bottom ; bring the water to the boil, then turn down to low temperature ; the steam from the water heats the bowl and melts the chocolate)
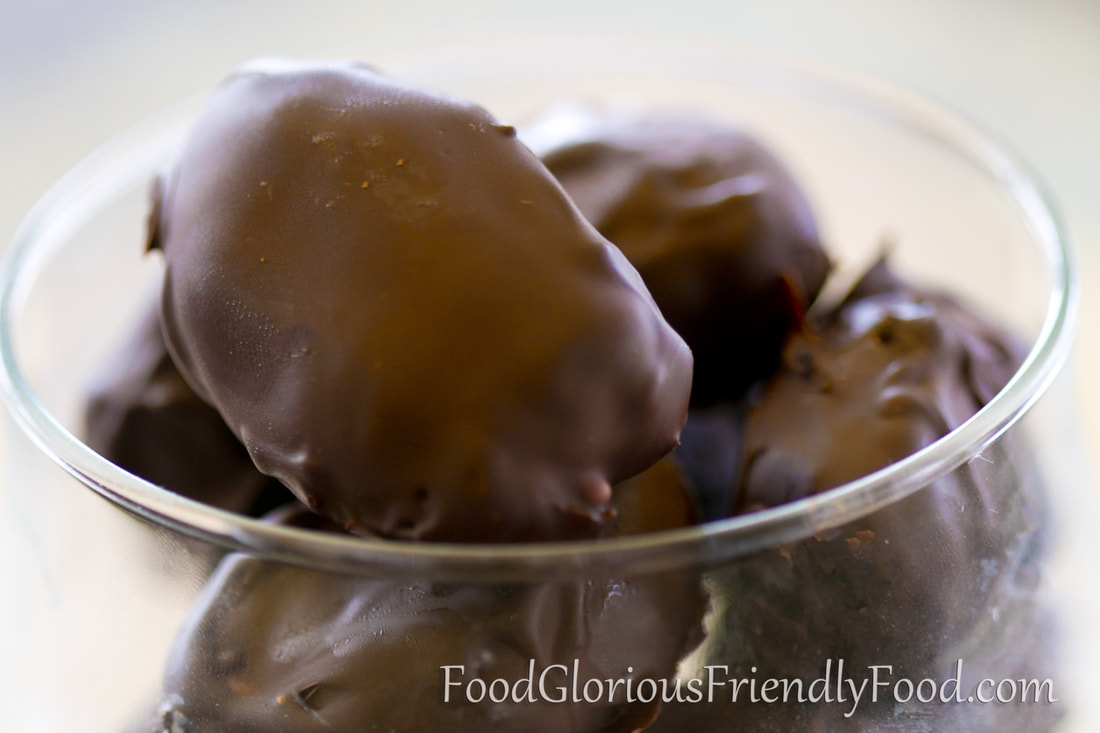
  • Take stuffed dates out of freezer and one at a time roll them in the chocolate and remove with a fork.  Allow excess chocolate to drain off the date over the bowl before placing the choc covered dates on the baking tray.
  • When all dates are coated, place the tray back in the freezer for an hour.
  • Store them in the freezer in an airtight container.   Neither the date nor the almond butter actually freeze solid- they have a lovely chewy texture that is reminiscent of real caramel, and are surprisingly not super cold to eat.  You can also store them in the fridge if you prefer.

    If you want to be tempted by more Friendly treats, check out these recipes.
Picture

Banana Flour Slice

17/11/2019

 
Picture
 Gluten free - grain free - dairy free - refined sugar free - additive free - vegetarian
     Banana flour
is a gluten free flour, but has a few advantages over other gluten free flours.  Firstly, it's not only gluten free but also grain free- great for all you Paleo eaters out there!  Secondly, it's not a nut-based gluten free flour- great for those with tree nut allergies).  Thirdly, it's a Resistant Starch.  My attempt to explain what this means is as follows:  Resistant starch is resistant to the digestive enzymes in the stomach and small intestine, so it is not absorbed there like most other starches, and makes it all the way to the large intestine, acting like dietary fibre.
   The benefits of this include:
-keeping your bowels 'regular'
-reducing the chance of colon cancer
-doesn't give your body an instant glucose hit like other starches, and then the associated sugar-low afterwards (ie it's very low G.I.)
-keeps you feeling full for longer
-reduces fat storage after a meal that it is consumed
-promotes increased mineral absorption compared to other starches, especially calcium and magnesium
-promotes good bacteria off the gut (they can feed off it)

    No other food contains as much resistant starch per serve as bananas! Second in the running is rolled oats.
    Unlike many other gluten free flours that require altering recipes drastically to achieve the non-gluten-free comparison, it's easy to replace regular flour in your favourite recipes.  You use 3/4 cup of banana flour for every cup of wheat flour in the recipe, make sure you use baking powder or soda, and add one extra egg (or equivalent soaked chia seeds).
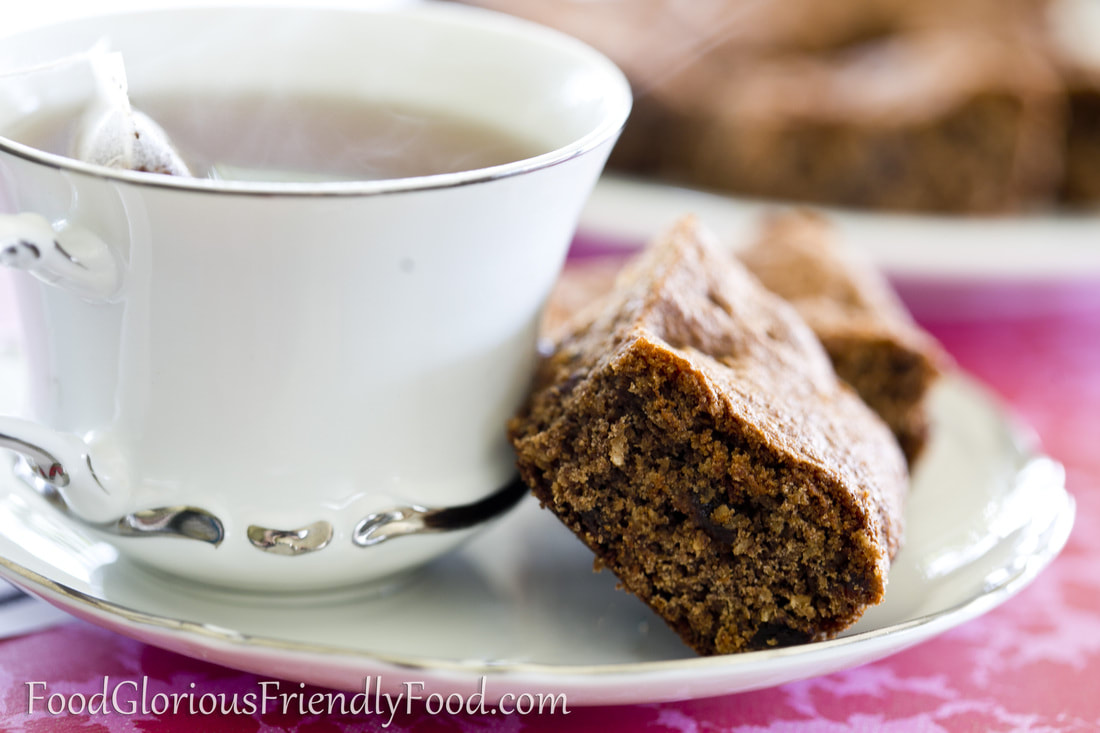
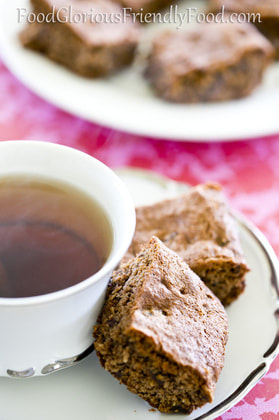
    This recipe was a childhood favourite of mine.  We called it Sultana Slice and it's in a hand-written in a book of recipes I transcribed from my Mum's when I left home.  I've been wanting to give it a gluten/dairy/sugar-free make over for a long time and the banana flour has helped to keep it excitingly close to the original taste and texture. 
     And, by the way, it doesn't taste like banana!  I hope you enjoy it as much as I do!


Ingredients:
  • 1/2 cup (125 g) coconut oil(or organic butter)
  • 1/2 cup coconut sugar
  • 2 teaspoons vanilla extract or paste
  • 2 eggs
  • 3/4 cup banana flour
  • 1/2 teaspoon bicarb /baking soda
  • 1/2 teaspoon baking powder
  • 1 teaspoon cinnamon
  • 1 teaspoon allspice (or add an extra teaspoon cinnamon)
  • 3/4 cup desiccated coconut
  • 1 1/2 cups sultanas (if you don't like dried fruit in slice, you could replace this with 100g chopped 70% cocoa chocolate)
Variation:  if you want to make this slice a little more 'adult', soak the sultanas in Port or Sherry for half an hour before using them (drain the liquid before adding them to the batter).

Method:
  1. Preheat the oven to 180 degrees Celsius / 350F  (160C fan forced).
  2. Line a small rectangular or square slice tin with baking paper. (about 19 x 28cm)
  3. In a large saucepan, melt the coconut oil or butter.  While hot, stir in the coconut sugar and vanilla.
  4. Lightly beat the eggs with a fork in a separate bowl and add to the oil mix in the saucepan.
  5. Add the flour, bicarb soda, cinnamon, allspice, desiccated coconut and sultanas. 
  6. Mix very thoroughly until as smooth as possible.
  7. Spread into the lined tin and smooth out the top.
  8. Bake for 10 minutes, then cover with foil and bake a further 10 minutes.  Do not overcook as it can get very dry and crumbly!
  9. Remove from oven and allow to cool for a few minutes.  This slice is yummy served warm with some dairy free ice cream and caramel sauce for dessert, or it's great once cooled as a morning or afternoon snack.
  10. Store in an airtight container.
Picture

Crap-Free Jelly

3/11/2019

 
Picture
Gluten free - grain free - dairy free - egg free - artificial colour and additive free - can be refined sugar free - can be vegetarian
      I discovered many years ago that making your own jelly without a packet mix only involves ONE extra step than making a packet jelly mix, and it is SO much healthier for your body! 
    There are two ways to set your jelly- one with gelatin powder, and one with Agar Agar powder.  Gelatin is derived from collagen obtained from various animal by-products.  It can be argued that it has many nutritional benefits to our bodies, but as it is neither kosher nor vegetarian, many people avoid it.  Agar Agar is an extract from various marine algae (ie. seaweed).  If you can't find it in a supermarket, try your health food store. 
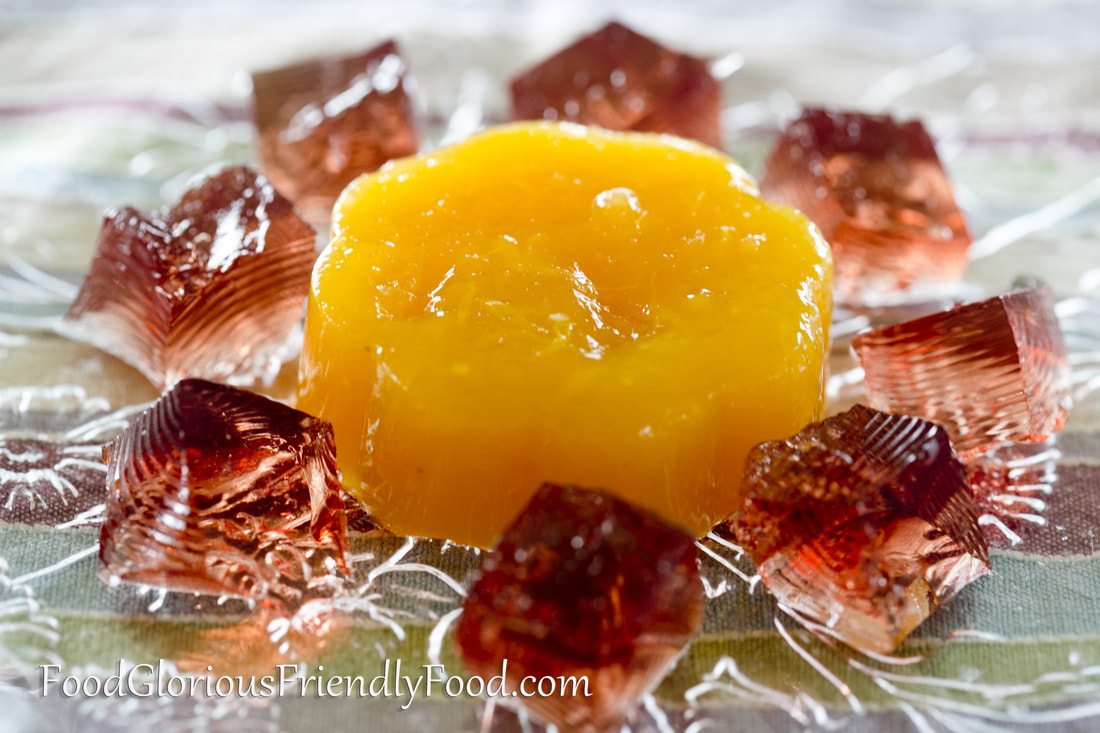
    You need a little less Agar Agar to set a liquid than gelatin powder.  The Agar Agar ironically makes the liquid even more thick and 'gelatinous' than gelatin, and sets MUCH more quickly.  It will start setting almost immediately and be completely set at room temperature in less than an hour.  Gelatin jelly takes a couple of hours in the fridge.  The orange jelly in the photo below is set with Agar Agar , and the other  maroon one is set with gelatin.
   
Picture
     I make jelly with fruit juice.  There are many other jelly recipes that make it with a combination of sugar syrup and juice, but I really don't see the need.  Fruit juice is sweet enough!  Apparently the only two juices that don't work for making jelly are pineapple and kiwi fruit.  I learnt about the kiwi juice when trying to make a Christmassy-looking red and green layered jelly- it simply didn't set!  You can, however, make green jelly from your own 'green juice' (see pic below).
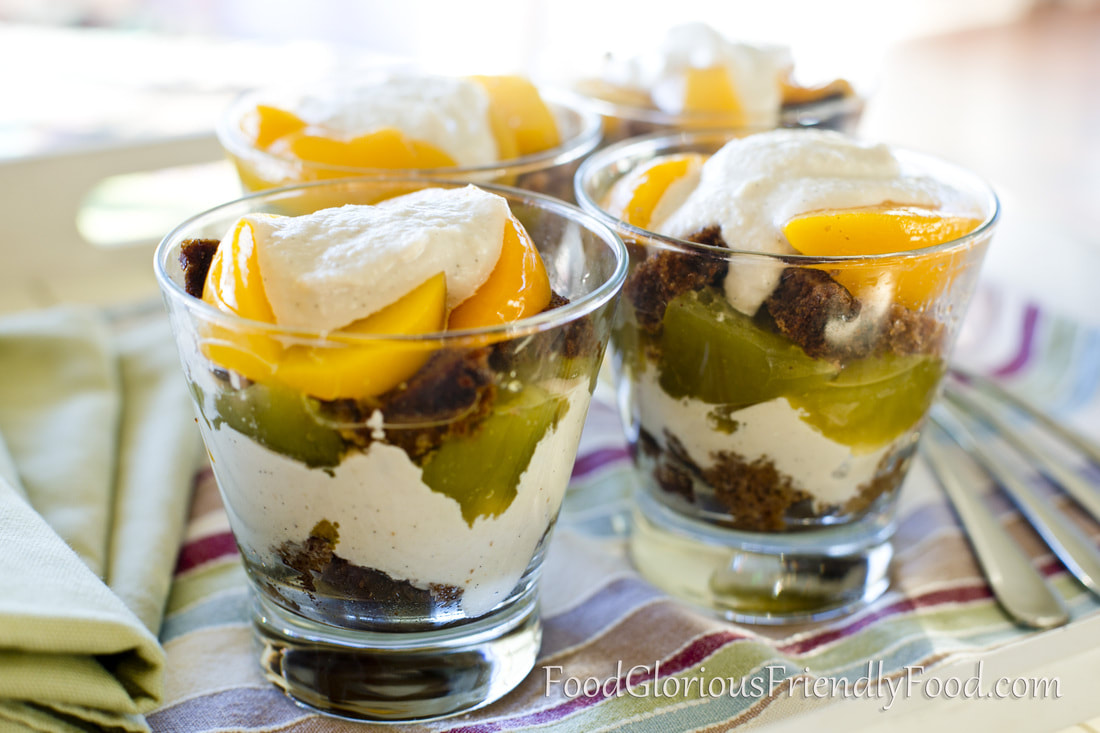
     I also love making Trifle with jelly.  I make mine with layers of jelly, soft fruit, cashew cream and left over cake that I drizzle with a little juice or alcohol (you can even make a double batch of cake next time you're baking, and freeze one for another time when you feel like making trifle...just defrost before using).
Picture

Jelly from Gelatin
Ingredients:
Makes 2 cups (500 ml jelly).  Double all quantities to make 1 L jelly.  This quantity makes a soft, flexible jelly.  Add a little more gelatin if you want it to be very firm or cut it into solid shapes.
  • 1 tablespoon gelatin powder
  • 1/2 cup (125 ml) boiling water
  • 1 1/2 cups (375 ml) juice (preferably 100%, no added sugar/colour/flavour/preservatives juice, or better still, freshly squeezed home made juice)
  • A little sweetener of choice, if desired- coconut sugar, rapadura sugar, pure maple syrup, raw honey, stevia (we don't use any and find it sweet enough, but some kids who are used to high sugar foods may want some)
Method:
  • In a bowl or jug large enough to hold over 2 cups of liquid, pour your boiling water.  Sprinkle the gelatin over the water and quickly mix in with a small whisk or fork until all the gelatin is dissolved. 
  • Stir in the sweetener if using, then pour the juice in and stir until combined. 
  • Pour into molds if desired.  Leave in the fridge to set for at least 2 hours. 

Jelly from Agar Agar
Ingredients:
Makes 2 cups (500 ml jelly).  Double all quantities to make 1 litre of jelly.  This quantity of Agar Agar powder sets the jelly very solidly and is great for if you want to cut it into shapes.  You can use a little less if you don't want it to be so solid. 
  • 1 tablespoon Agar Agar powder
  • 2 cups (500 ml) juice (preferably 100%, no added sugar/colour/flavour/preservatives juice, or better still, freshly squeezed home made juice)
  • A little sweetener of choice, if desired- coconut sugar, rapadura sugar, pure maple syrup, raw honey, stevia (we don't use any and find it sweet enough, but some kids who are used to high sugar foods may want some)
Method:
  • Put the agar agar and juice and sweetener (if using)  in a saucepan, whisk together well with a small whisk or a fork.  
  • Bring to the boil over low to medium heat, stirring regularly. 
  • Reduce to the lowest possible heat and simmer for 5 minutes.
  • Remove from heat, pour into molds or cups.  It will set at room temperature or in the fridge within an hour.

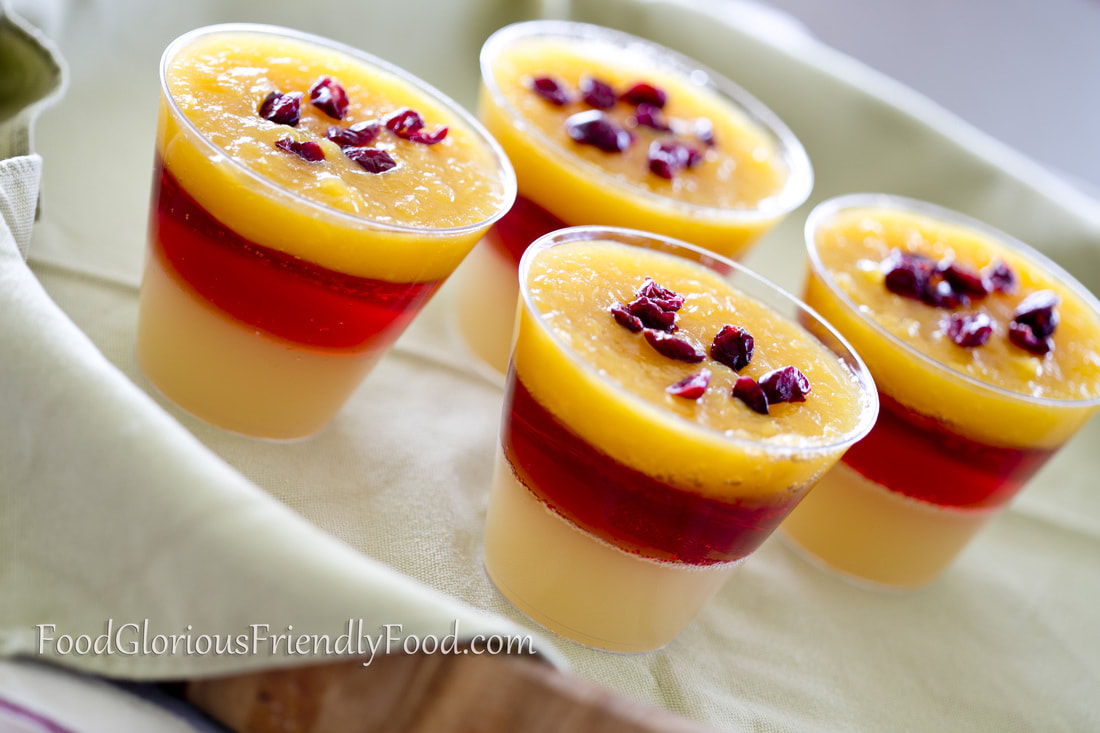
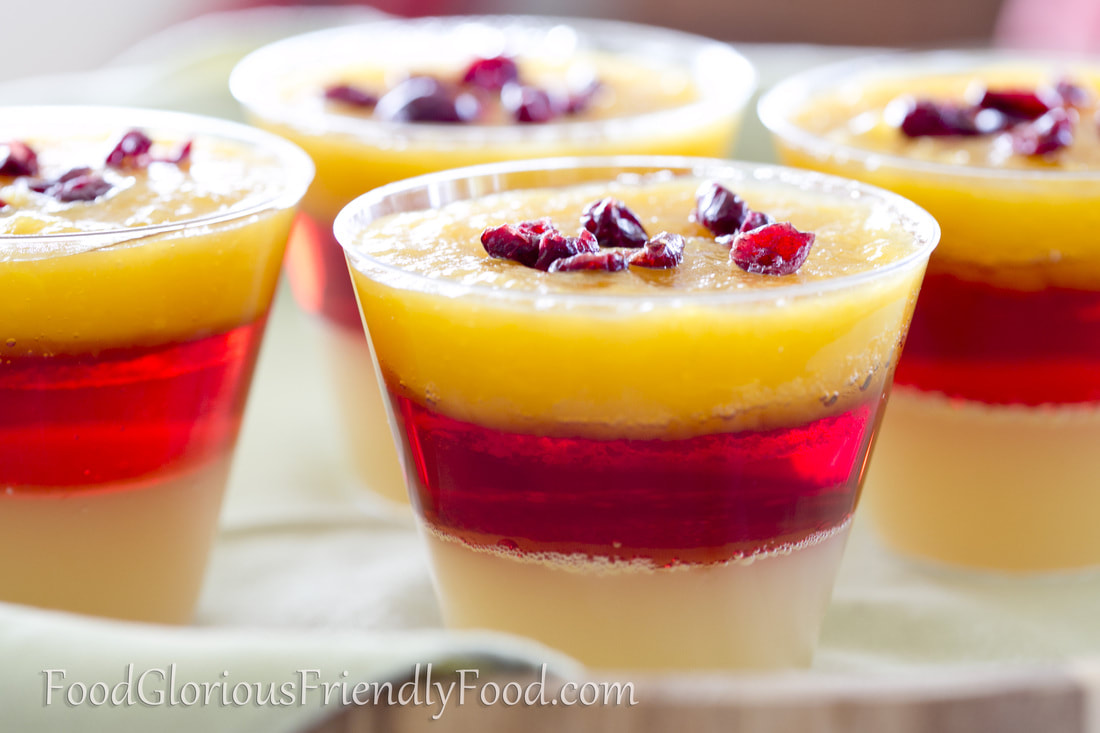
    If you want to make layered jelly, simply pour one batch of jelly into the bottom of the cups and leave to set completely before making the next colour of jelly and adding this to the top of the set jelly.  Repeat for as many layers as desired, setting each layer before making and adding the next. 
Picture
<<Previous

    Categories

    All
    Baked
    Beef
    Biscuits And Slice
    Breakfast
    Cakes Muffins Brownies
    Chicken
    Chocolate
    Christmas
    Dinner
    Dips And Sauces
    Drinks & Ice Blocks
    Easter
    Fruit
    Lunch
    Lunch Boxes
    Meat
    Paleo
    Pastry
    Pork
    Preserves
    Raw
    Salad
    Seafood
    Snack
    Soup
    Sweet
    Vegetarian

    See my book:  friendly food for chocoholics
    Weight and Temperature Conversions
Proudly powered by Weebly
  • Home
  • Recipes
  • About Me
  • Weight and Temperature Conversions