 Gluten free - grain free - dairy free - egg free - low sugar
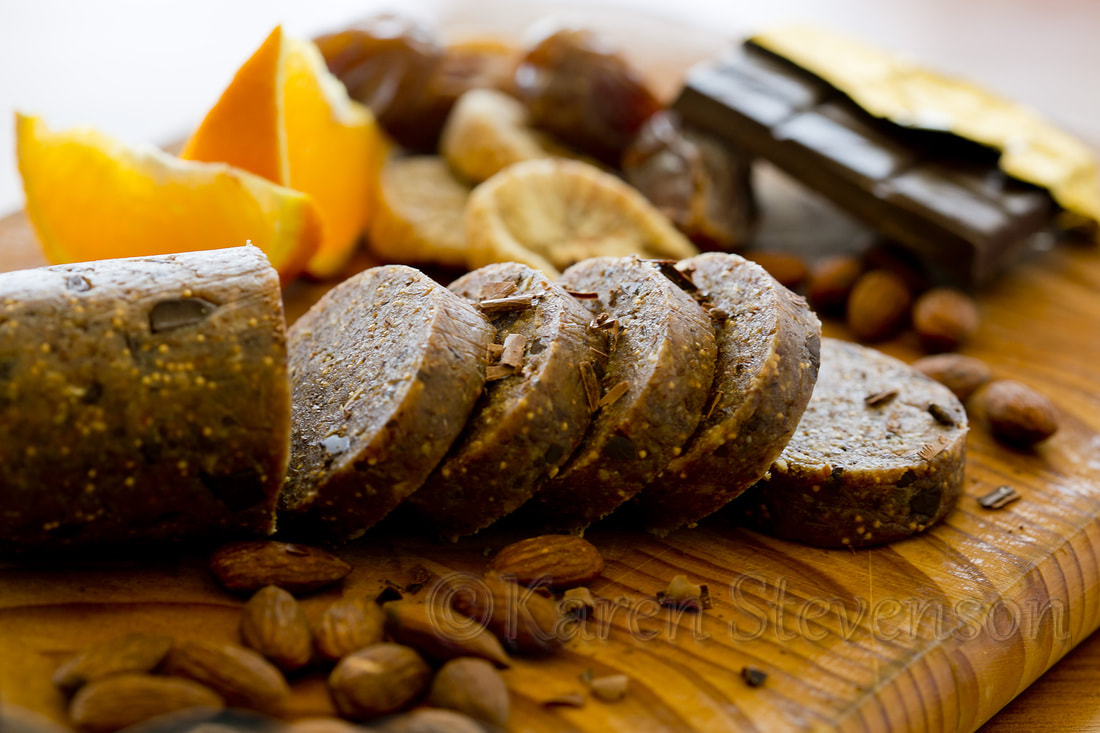
I love keeping this log in the fridge and bringing it out for a snack when friends are over, or taking it to a picnic. It's always a hit and it's so easy to make. No baking, no fuss, only 4 ingredients. It's also great for a mid afternoon snack if you're after a little indulgence that isn't actually too indulgent! Basically, it's a version of bliss balls served more elegantly! Ingredients
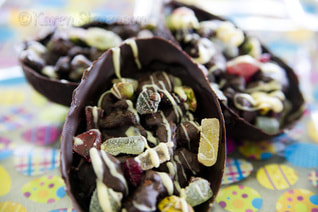
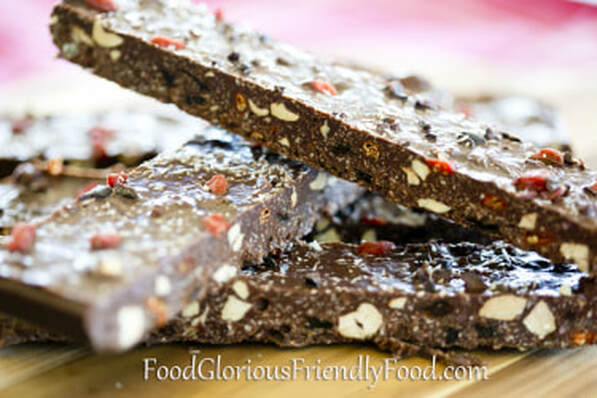
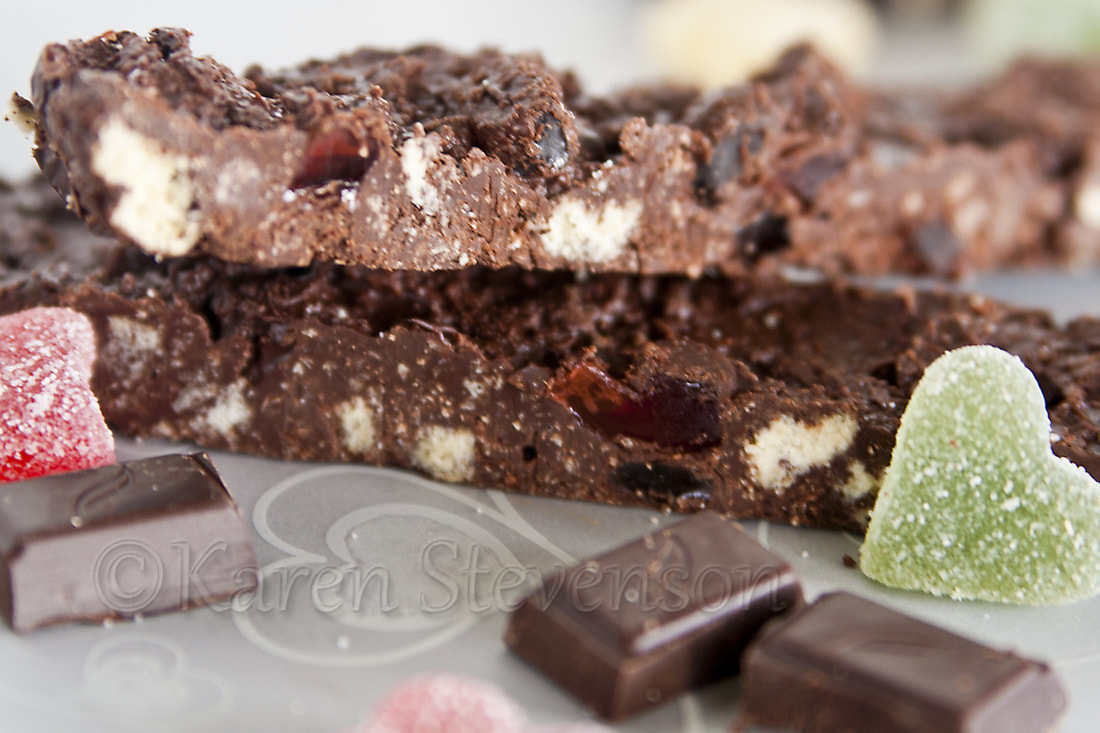 Can be gluten free, grain free, dairy free, nut free - egg free There are probably thousands of recipes over the internet for Rocky Road, but that's not going to stop me from putting mine on here!! Actually, I don't follow a recipe at all when I make Rocky Road- just go with whatever takes me at the time. That's the beauty of it. It's quick and super easy. I always have a few blocks of dark chocolate in my pantry and enough other bits and pieces that this makes a great last-minute-I-need-to-bring-something-along treat, that is always a hit. I'm posting this now in the lead up to Easter, because it's a great Chocolate treat, and you can also make your own Easter eggs filled with Rocky Road...an extra decadent treat, and you're making it yourself so you are in control of the ingredients. Check out my Make Your Own Easter Eggs post here. I use 70% cocoa fair trade dark chocolate, so it's dairy free, low in sugar and ensuring I'm not contributing to the exploitation of labourers in the Third World. You can use what ever chocolate you like- even white chocolate works great (check out my more Christmassy White Chocolate Shards recipe here for more ideas). Ingredients
Fruit and Nut Rocky Road:
 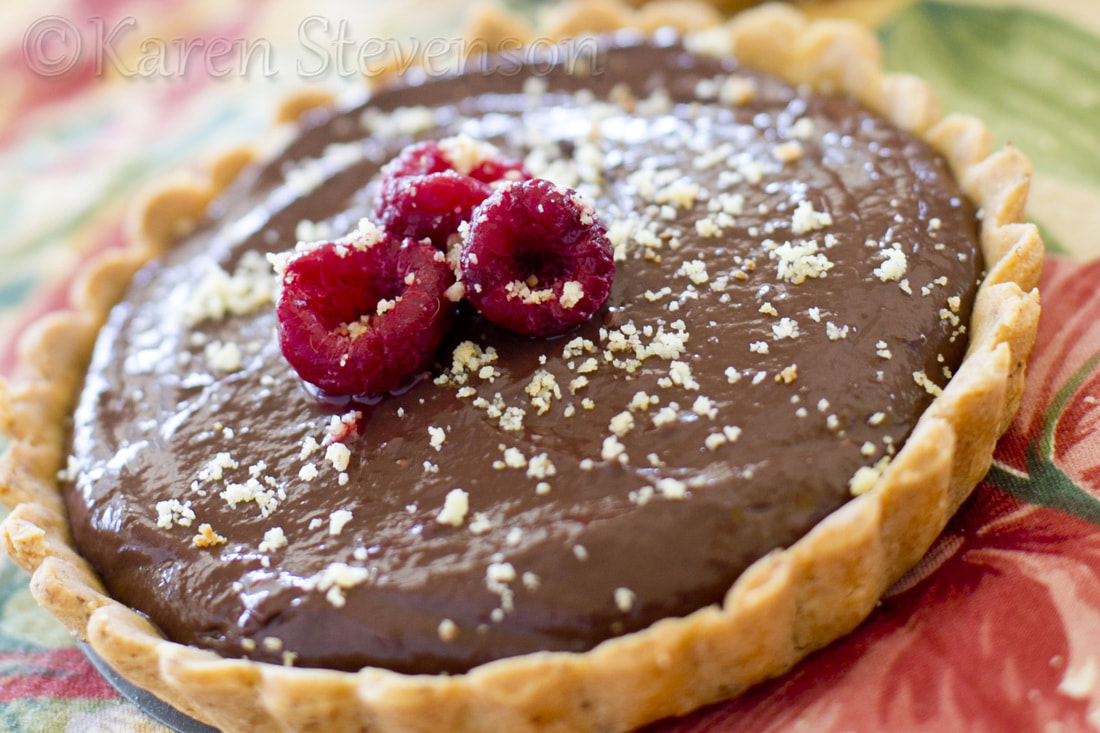
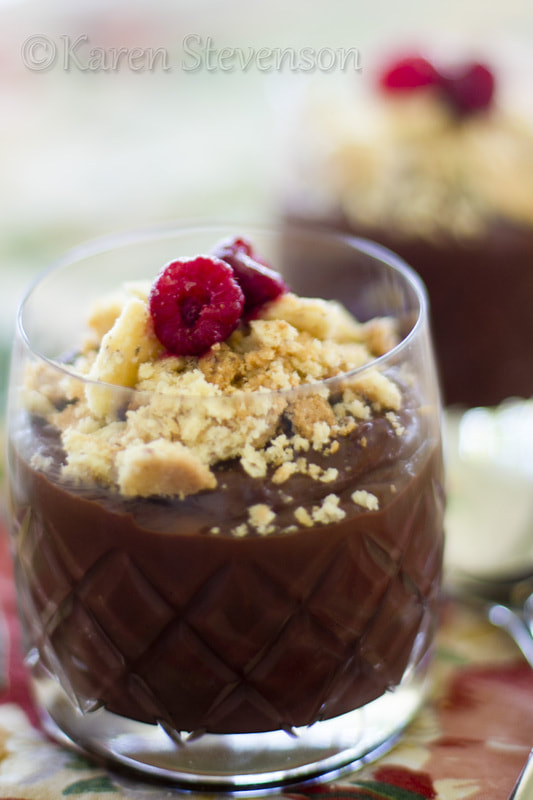
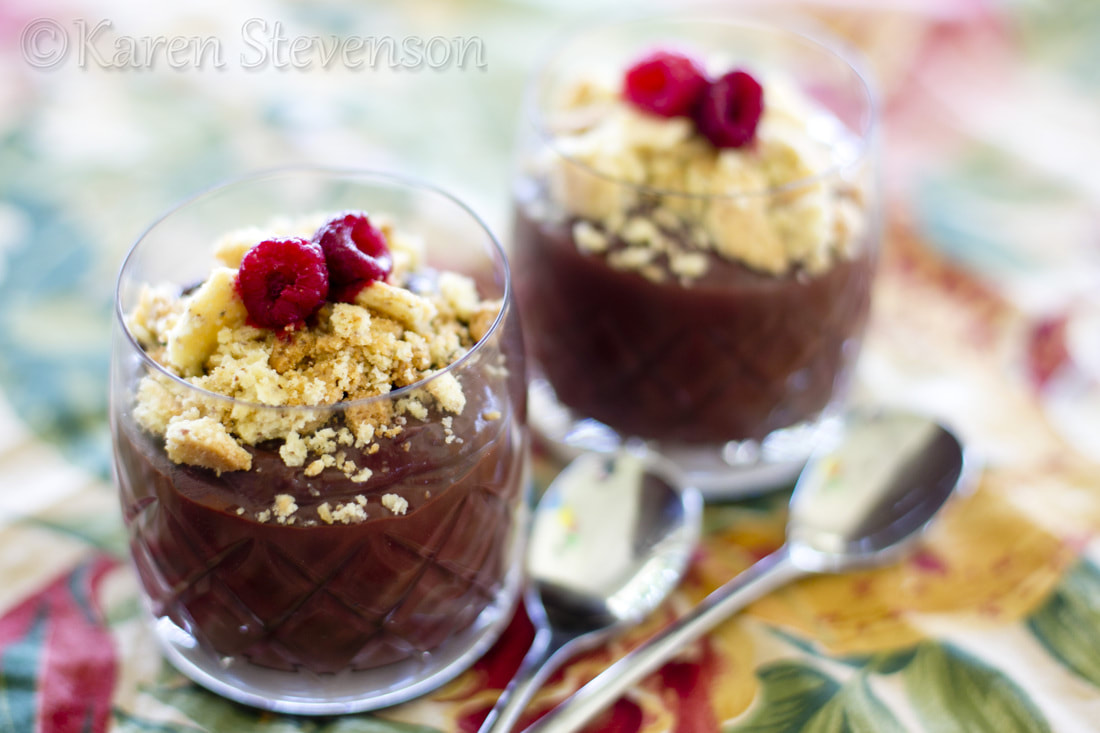
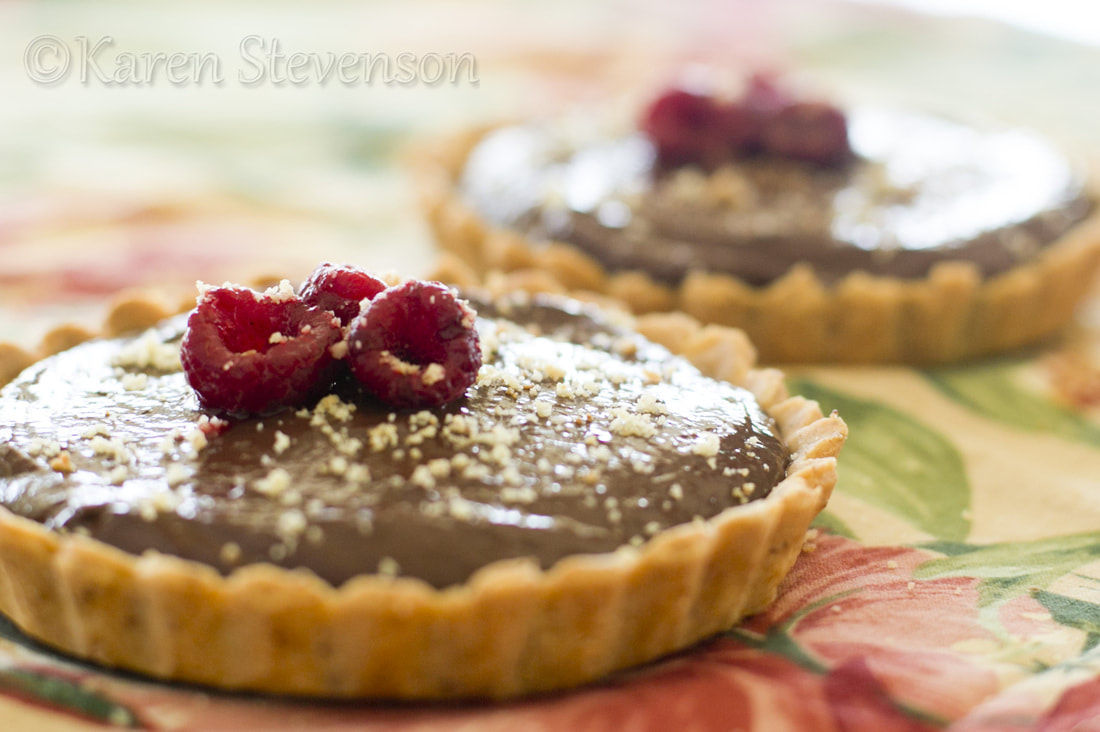
“Tofu????” he exclaimed! “Just give it a go” I replied, and we left it at that. Once I'd whizzed it all up in the food processor he came by again, as he often does, just to 'check' how it's going (ie to see what there is to sample), and he had a lick of the mixture. Obviously surprised, he went back for more. My not-very-sweet-toothed husband has now had three helpings of the 'tofu pie' over the last two days, so I think I can safely say it was a success. It's also been a huge hit with my 7 year old who is a self-professed mousse-hater. Not bad, really! The pie filling is a gorgeous stand-alone mousse and actually doesn't have to be served in a pie shell at all. We ate a heap of it fresh after being whizzed up, and it's just lovely. It solidifies in the fridge after a couple of hours and becomes too solid to really call a mousse, but if you wanted to make it ahead of time and serve it as a mousse, just take it out of the fridge for an hour or two before serving. And, just to demonstrate that I don't always get my baking quite right, my attempt at making a large pie shell to put the filling in kind of failed. I made the the dough a little too moist, and rolled it out too thinly, and it ended up cracking to bits when I blind-baked it. Thankfully I also made some small tart shells that worked, so it wasn't a complete disaster. And remembering the old saying “when life gives you lemons, make lemonade”...I found that the crumbling pie crust made a fantastic and fancy-looking 'soil' to crumble over the top of the mousse, and gave it a lovely crunchy texture-element. Hubby even said it looked like I planned it all along!As usual, I've modified the original recipe somewhat. It's an American book, so the quantities have changed a little in my conversions so that it uses more standard Australian quantities. I've also removed the refined sugar content and replaced it with a reduced amount of maple syrup. Ingredients
Method
While the shell is cooling, make the filling:
|