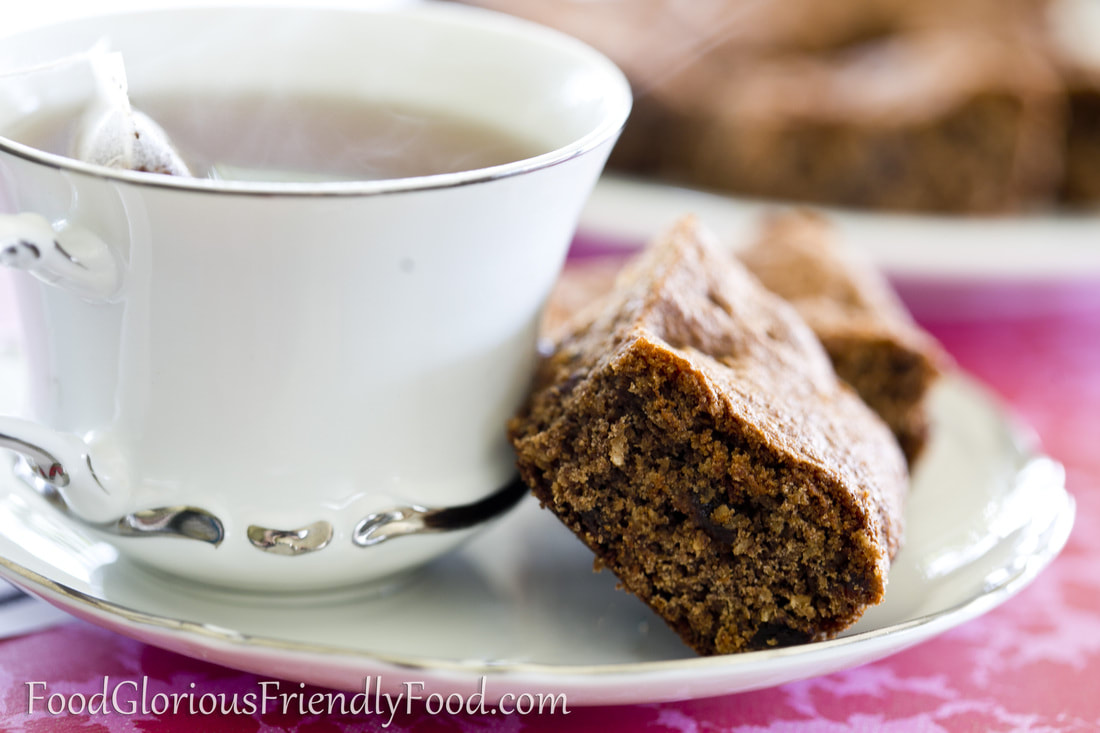
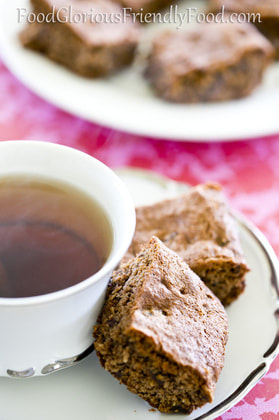
 Gluten free - grain free - dairy free - refined sugar free - additive free - vegetarian Banana flour is a gluten free flour, but has a few advantages over other gluten free flours. Firstly, it's not only gluten free but also grain free- great for all you Paleo eaters out there! Secondly, it's not a nut-based gluten free flour- great for those with tree nut allergies). Thirdly, it's a Resistant Starch. My attempt to explain what this means is as follows: Resistant starch is resistant to the digestive enzymes in the stomach and small intestine, so it is not absorbed there like most other starches, and makes it all the way to the large intestine, acting like dietary fibre. The benefits of this include: -keeping your bowels 'regular' -reducing the chance of colon cancer -doesn't give your body an instant glucose hit like other starches, and then the associated sugar-low afterwards (ie it's very low G.I.) -keeps you feeling full for longer -reduces fat storage after a meal that it is consumed -promotes increased mineral absorption compared to other starches, especially calcium and magnesium -promotes good bacteria off the gut (they can feed off it) No other food contains as much resistant starch per serve as bananas! Second in the running is rolled oats. Unlike many other gluten free flours that require altering recipes drastically to achieve the non-gluten-free comparison, it's easy to replace regular flour in your favourite recipes. You use 3/4 cup of banana flour for every cup of wheat flour in the recipe, make sure you use baking powder or soda, and add one extra egg (or equivalent soaked chia seeds). This recipe was a childhood favourite of mine. We called it Sultana Slice and it's in a hand-written in a book of recipes I transcribed from my Mum's when I left home. I've been wanting to give it a gluten/dairy/sugar-free make over for a long time and the banana flour has helped to keep it excitingly close to the original taste and texture. And, by the way, it doesn't taste like banana! I hope you enjoy it as much as I do! Ingredients:
Method:
 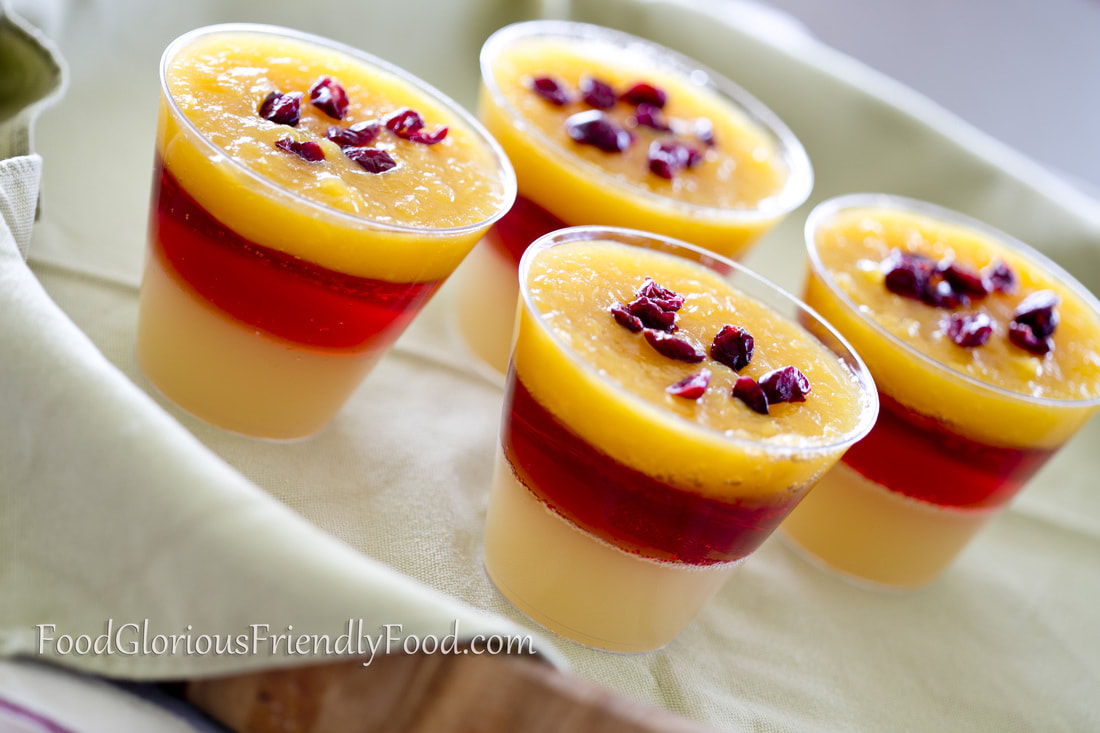 Gluten free - grain free - dairy free - egg free - artificial colour and additive free - can be refined sugar free - can be vegetarian I discovered many years ago that making your own jelly without a packet mix only involves ONE extra step than making a packet jelly mix, and it is SO much healthier for your body! There are two ways to set your jelly- one with gelatin powder, and one with Agar Agar powder. Gelatin is derived from collagen obtained from various animal by-products. It can be argued that it has many nutritional benefits to our bodies, but as it is neither kosher nor vegetarian, many people avoid it. Agar Agar is an extract from various marine algae (ie. seaweed). If you can't find it in a supermarket, try your health food store. You need a little less Agar Agar to set a liquid than gelatin powder. The Agar Agar ironically makes the liquid even more thick and 'gelatinous' than gelatin, and sets MUCH more quickly. It will start setting almost immediately and be completely set at room temperature in less than an hour. Gelatin jelly takes a couple of hours in the fridge. The orange jelly in the photo below is set with Agar Agar , and the other maroon one is set with gelatin. 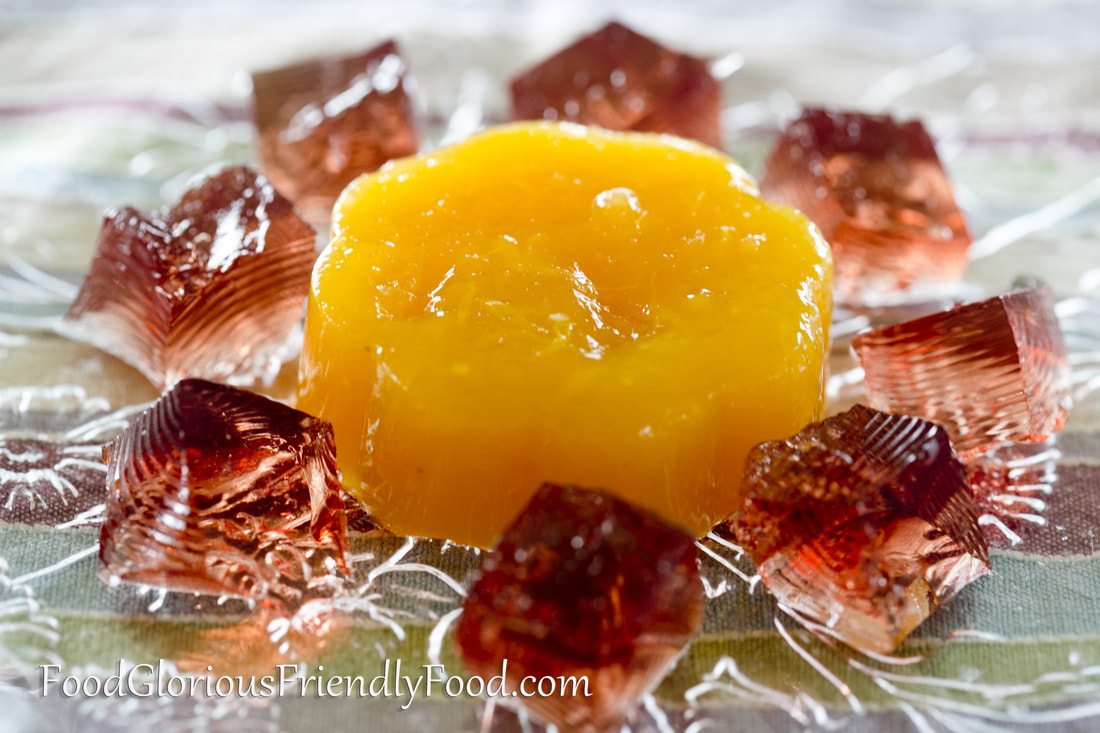 I make jelly with fruit juice. There are many other jelly recipes that make it with a combination of sugar syrup and juice, but I really don't see the need. Fruit juice is sweet enough! Apparently the only two juices that don't work for making jelly are pineapple and kiwi fruit. I learnt about the kiwi juice when trying to make a Christmassy-looking red and green layered jelly- it simply didn't set! You can, however, make green jelly from your own 'green juice' (see pic below). I also love making Trifle with jelly. I make mine with layers of jelly, soft fruit, cashew cream and left over cake that I drizzle with a little juice or alcohol (you can even make a double batch of cake next time you're baking, and freeze one for another time when you feel like making trifle...just defrost before using). 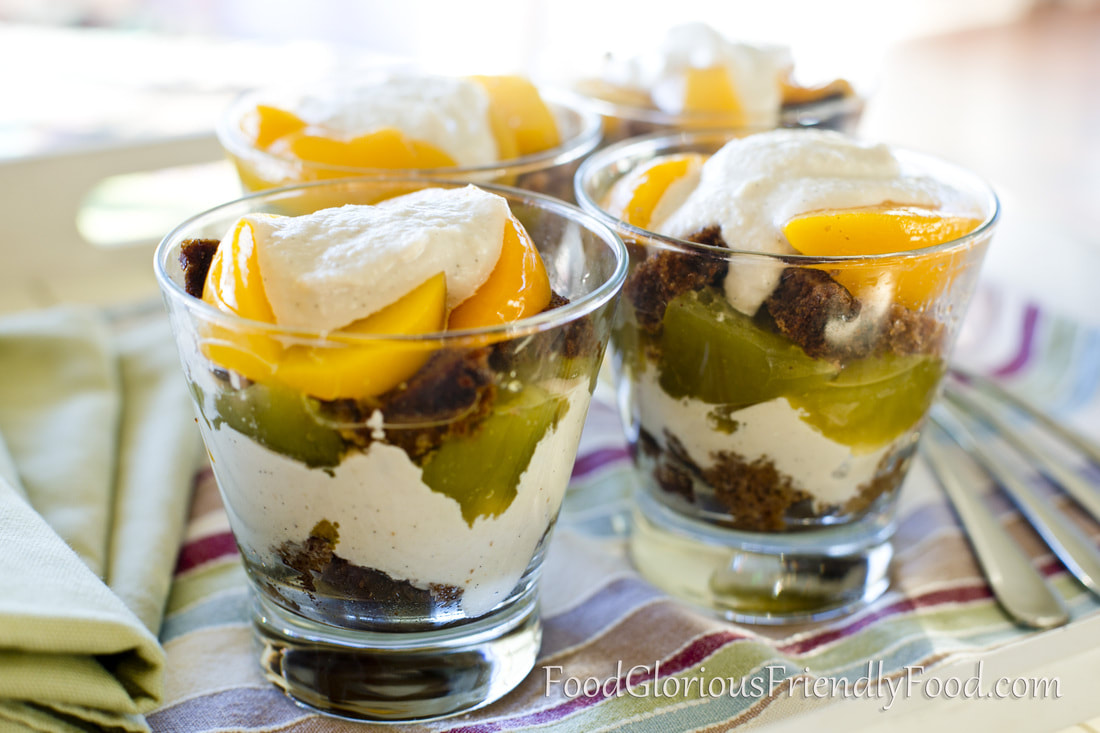 Jelly from Gelatin Ingredients: Makes 2 cups (500 ml jelly). Double all quantities to make 1 L jelly. This quantity makes a soft, flexible jelly. Add a little more gelatin if you want it to be very firm or cut it into solid shapes.
Ingredients: Makes 2 cups (500 ml jelly). Double all quantities to make 1 litre of jelly. This quantity of Agar Agar powder sets the jelly very solidly and is great for if you want to cut it into shapes. You can use a little less if you don't want it to be so solid.
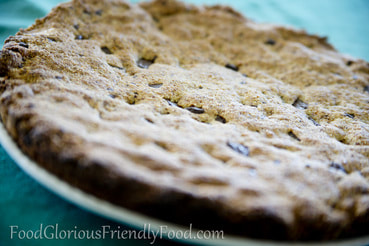
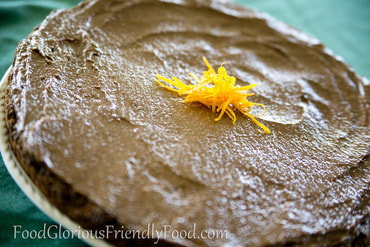
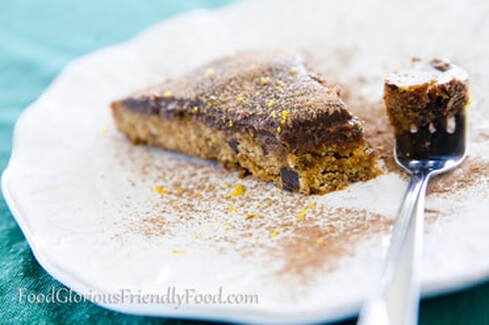
If you want to make layered jelly, simply pour one batch of jelly into the bottom of the cups and leave to set completely before making the next colour of jelly and adding this to the top of the set jelly. Repeat for as many layers as desired, setting each layer before making and adding the next. 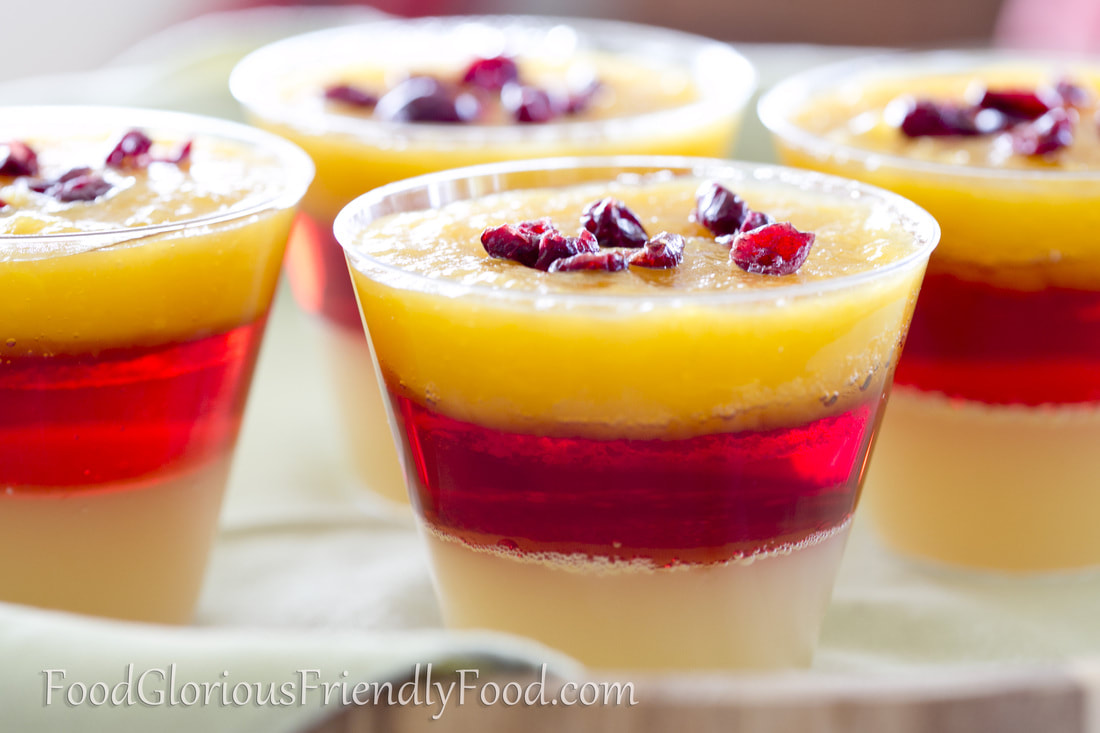 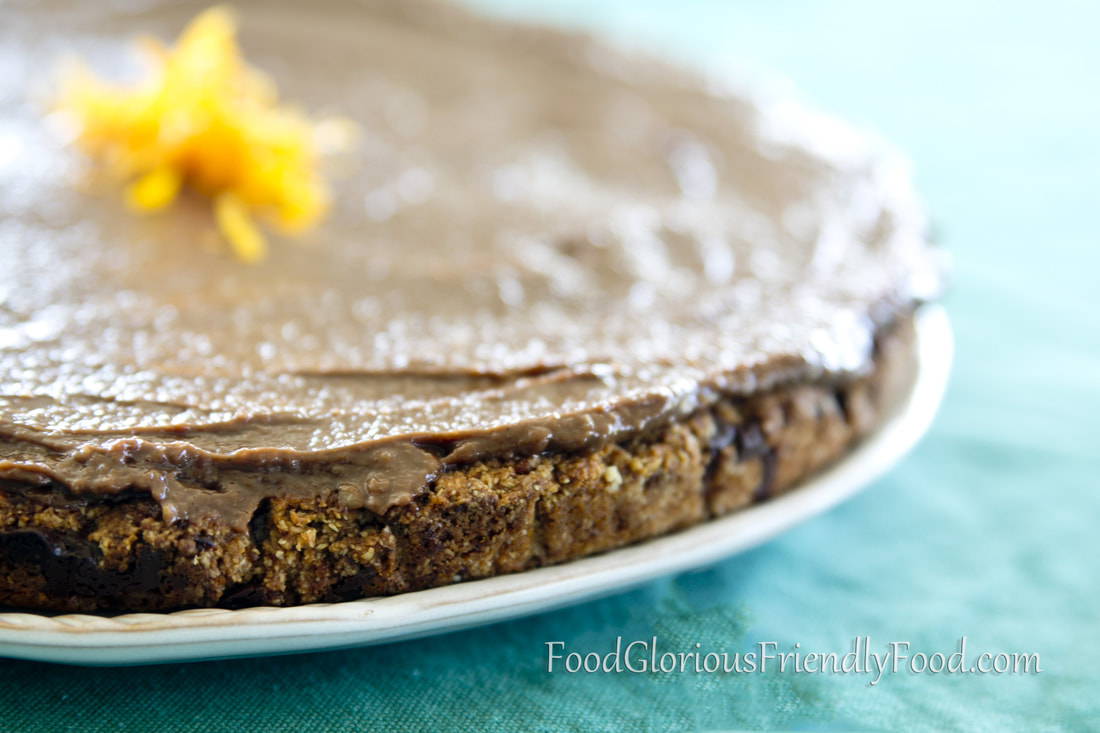 Gluten free - grain free - dairy free - can be refined sugar free - egg free - vegetarian - (contains tree nuts) "Hello. My name is Karen, and I'm a chocoholic. I've been a chocoholic since I was about 15, when I had my first job and the means with which to buy as much chocolate as I wanted. I have tried to make more desserts and treats without chocolate... really- I have! But it's no use. Dessert without chocolate is like rain without water, music without a melody, love without the spark." ....(an excerpt from my imaginary first meeting at C.A.: Chocoholics Anonymous. But of course, I'd never go, because I never want to give it up. I prefer the Chocoholics 12 Step plan to recovery : never be further than 12 steps away from chocolate!!)... 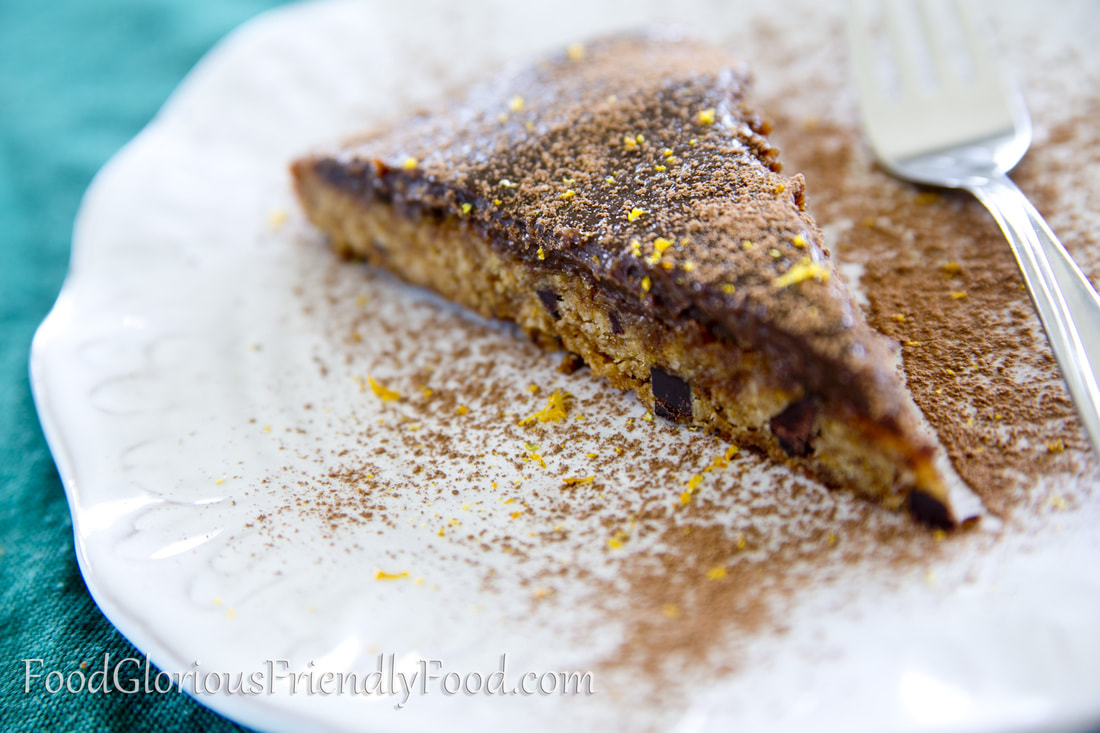 Anyway....here's another beauty for all you fellow Chocoholics. And better yet, for all of you that love that divinely inspired combination of orange and dark chocolate, together, in harmony, in one mouthful. The inspiration for this Cookie Cake came from the lovely Brittany at Real Sustinance, and I've really only changed a couple of quantities, and slightly messed with the ingredient list and turned it into Jaffa heaven. Cookie Cake is definitely an American invention- not something we really do here in Australia, but let me assure you it's well worth trying! If this isn't enough chocolate love for you, check out my lists of sweets and snacks....you will find much more chocolately inspiration there too! You can also turn this dough into individual cookies rather than a cake. Follow the method right down to the bit where you put it on a lined pizza tray. Instead, just flatten tablespoon-sized balls of the dough onto a lined cookie tray and bake for about 12 minutes, until lightly golden. 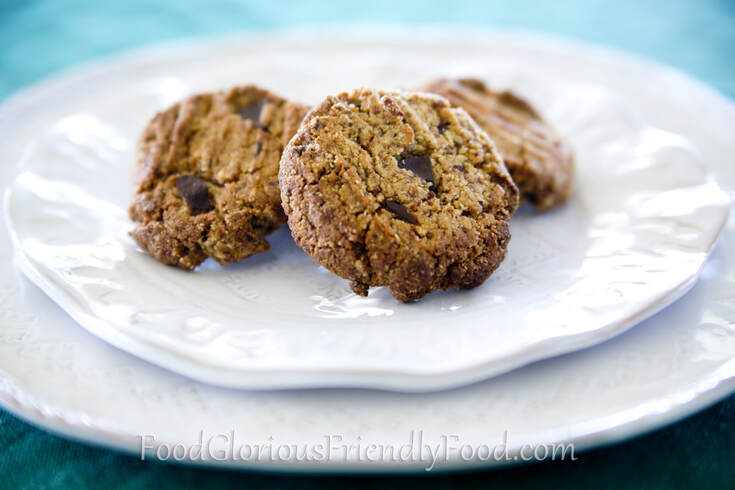 Ingredients:
Method:
 |