FOOD, GLORIOUS FRIENDLY FOOD
  • Home
  • Recipes
  • About Me
  • Weight and Temperature Conversions

 Food, Glorious Friendly Food  

Recipe Categories

All
Baked
Beef
Biscuits And Slice
Breakfast
Cakes Muffins Brownies
Chicken
Chocolate
Christmas
Dinner
Dips And Sauces
Drinks & Ice Blocks
Easter
Fruit
Lunch
Lunch Boxes
Meat
Paleo
Pastry
Pork
Preserves
Raw
Salad
Seafood
Snack
Soup
Sweet
Vegetarian

Friendly food for Chocoholics

Banana Flour Slice

17/11/2019

 
Picture
 Gluten free - grain free - dairy free - refined sugar free - additive free - vegetarian
     Banana flour
is a gluten free flour, but has a few advantages over other gluten free flours.  Firstly, it's not only gluten free but also grain free- great for all you Paleo eaters out there!  Secondly, it's not a nut-based gluten free flour- great for those with tree nut allergies).  Thirdly, it's a Resistant Starch.  My attempt to explain what this means is as follows:  Resistant starch is resistant to the digestive enzymes in the stomach and small intestine, so it is not absorbed there like most other starches, and makes it all the way to the large intestine, acting like dietary fibre.
   The benefits of this include:
-keeping your bowels 'regular'
-reducing the chance of colon cancer
-doesn't give your body an instant glucose hit like other starches, and then the associated sugar-low afterwards (ie it's very low G.I.)
-keeps you feeling full for longer
-reduces fat storage after a meal that it is consumed
-promotes increased mineral absorption compared to other starches, especially calcium and magnesium
-promotes good bacteria off the gut (they can feed off it)

    No other food contains as much resistant starch per serve as bananas! Second in the running is rolled oats.
    Unlike many other gluten free flours that require altering recipes drastically to achieve the non-gluten-free comparison, it's easy to replace regular flour in your favourite recipes.  You use 3/4 cup of banana flour for every cup of wheat flour in the recipe, make sure you use baking powder or soda, and add one extra egg (or equivalent soaked chia seeds).
    This recipe was a childhood favourite of mine.  We called it Sultana Slice and it's in a hand-written in a book of recipes I transcribed from my Mum's when I left home.  I've been wanting to give it a gluten/dairy/sugar-free make over for a long time and the banana flour has helped to keep it excitingly close to the original taste and texture. 
     And, by the way, it doesn't taste like banana!  I hope you enjoy it as much as I do!


Ingredients:
  • 1/2 cup (125 g) coconut oil(or organic butter)
  • 1/2 cup coconut sugar
  • 2 teaspoons vanilla extract or paste
  • 2 eggs
  • 3/4 cup banana flour
  • 1/2 teaspoon bicarb /baking soda
  • 1/2 teaspoon baking powder
  • 1 teaspoon cinnamon
  • 1 teaspoon allspice (or add an extra teaspoon cinnamon)
  • 3/4 cup desiccated coconut
  • 1 1/2 cups sultanas (if you don't like dried fruit in slice, you could replace this with 100g chopped 70% cocoa chocolate)
Variation:  if you want to make this slice a little more 'adult', soak the sultanas in Port or Sherry for half an hour before using them (drain the liquid before adding them to the batter).

Method:
  1. Preheat the oven to 180 degrees Celsius / 350F  (160C fan forced).
  2. Line a small rectangular or square slice tin with baking paper. (about 19 x 28cm)
  3. In a large saucepan, melt the coconut oil or butter.  While hot, stir in the coconut sugar and vanilla.
  4. Lightly beat the eggs with a fork in a separate bowl and add to the oil mix in the saucepan.
  5. Add the flour, bicarb soda, cinnamon, allspice, desiccated coconut and sultanas. 
  6. Mix very thoroughly until as smooth as possible.
  7. Spread into the lined tin and smooth out the top.
  8. Bake for 10 minutes, then cover with foil and bake a further 10 minutes.  Do not overcook as it can get very dry and crumbly!
  9. Remove from oven and allow to cool for a few minutes.  This slice is yummy served warm with some dairy free ice cream and caramel sauce for dessert, or it's great once cooled as a morning or afternoon snack.
  10. Store in an airtight container.
Picture

Jaffa Cookie Cake

31/10/2019

 
Picture
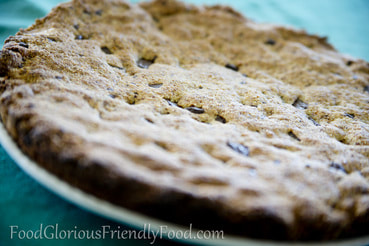
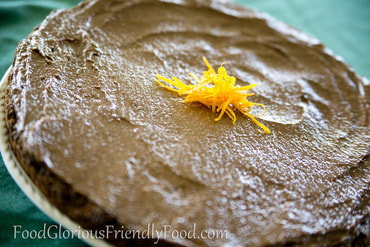
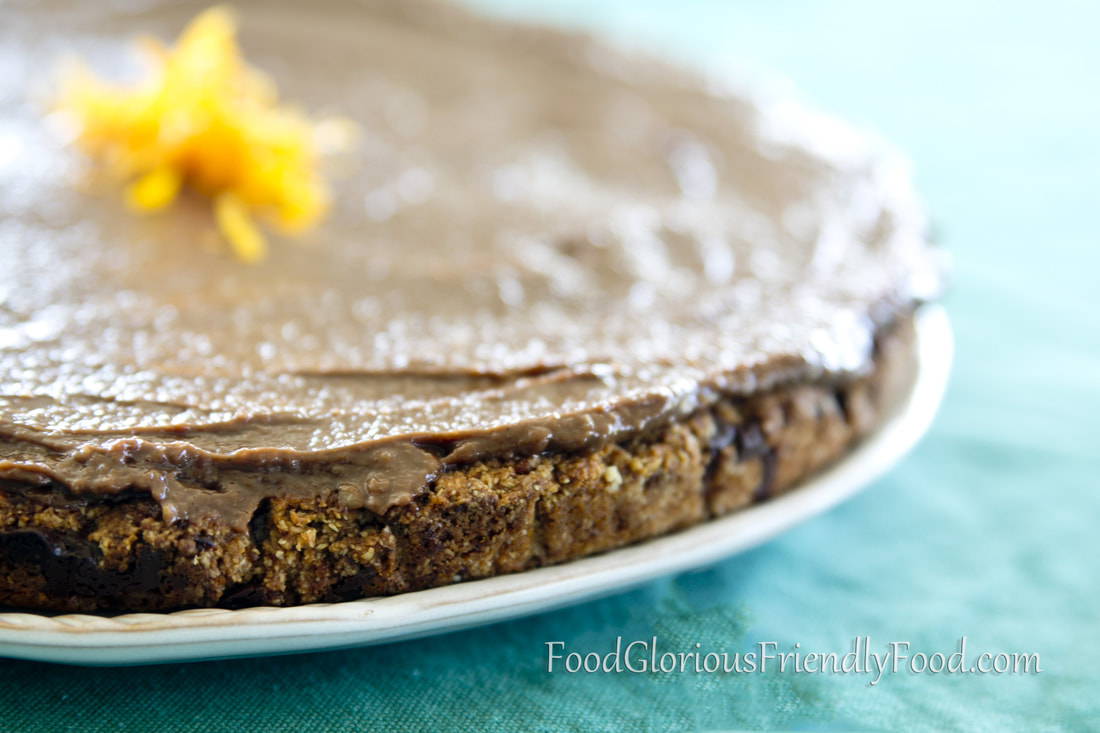
Gluten free - grain free - dairy free - can be refined sugar free - egg free - vegetarian - (contains tree nuts)
"Hello.  My name is Karen, and I'm a chocoholic.  I've been a chocoholic since I was about 15, when I had my first job and the means with which to buy as much chocolate as I wanted.  I have tried to make more desserts and treats without chocolate... really- I have!  But it's no use.  Dessert without chocolate is like rain without water, music without a melody, love without the spark." ....(an excerpt from my imaginary first meeting at C.A.: Chocoholics Anonymous.  But of course, I'd never go, because I never want to give it up.   I prefer the Chocoholics 12 Step plan to recovery :  never be further than 12 steps away from chocolate!!)...

Picture
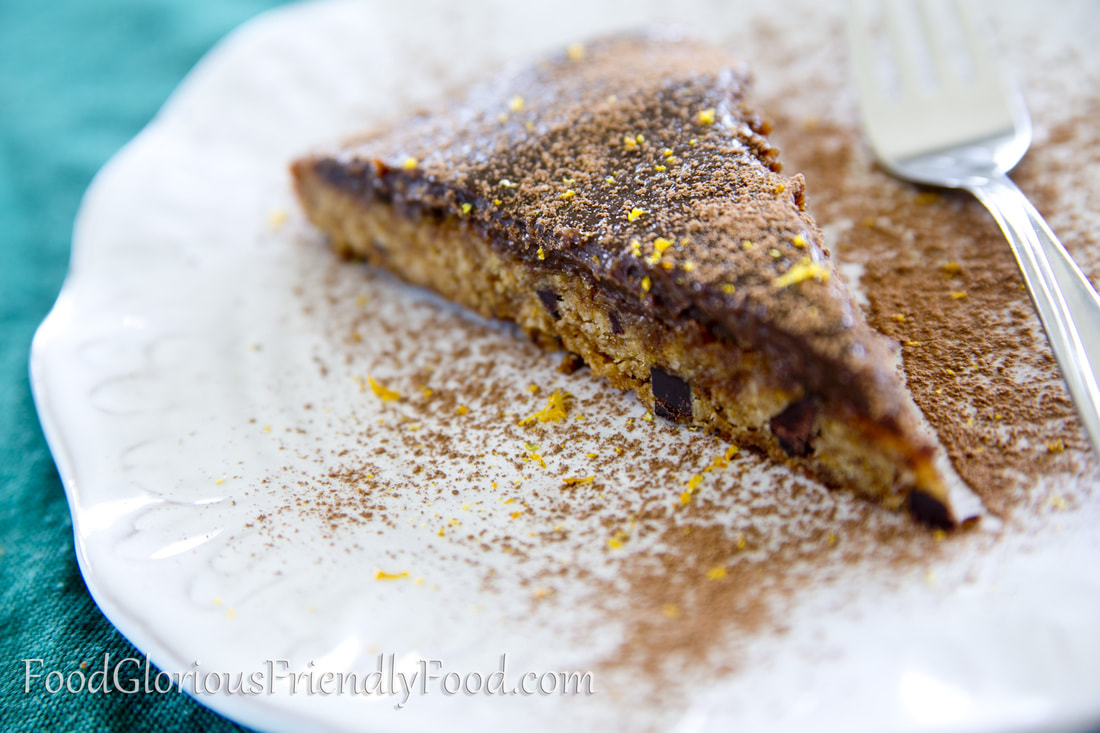
Anyway....here's another beauty for all you fellow Chocoholics.  And better yet, for all of you that love that divinely inspired combination of orange and dark chocolate, together, in harmony, in one mouthful.  The inspiration for this Cookie Cake came from the lovely Brittany at Real Sustinance, and I've really only changed a couple of quantities, and slightly messed with the ingredient list and turned it into Jaffa heaven.  Cookie Cake is definitely an American invention- not something we really do here in Australia, but let me assure you it's well worth trying! 
    If this isn't enough chocolate love for you, check out my lists of sweets and snacks....you will find much more chocolately inspiration there too!
    You can also turn this dough into individual cookies rather than a cake.  Follow the method right down to the bit where you put it on a lined pizza tray.  Instead, just flatten tablespoon-sized balls of the dough onto a lined cookie tray and bake for about 12 minutes, until lightly golden. 
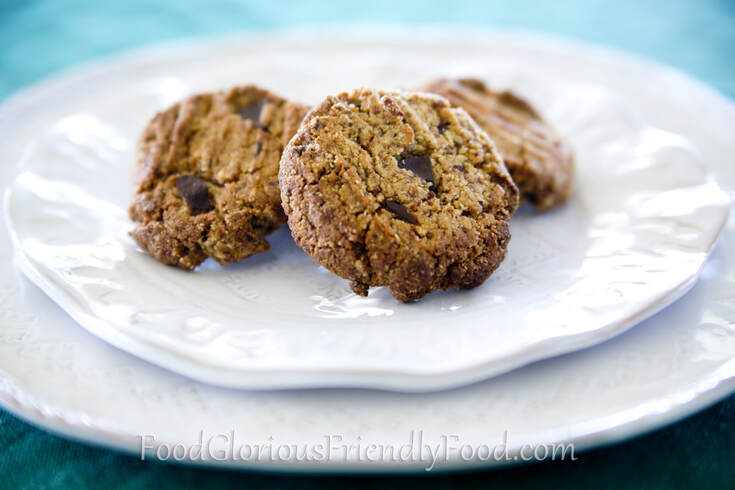
Picture
Ingredients:
  • 4 cups (packed) almond meal
  • 1 cup coconut sugar or rapadura sugar
  • 1/2 teaspoon salt
  • 6 Tablespoons coconut oil (or organic butter)
  • 2 Tablespoon vanilla Extract
  • 2 Tablespoons milk of choice (rice, soy, almond, coconut, dairy...I used almond milk)
  • 2 Tablespoons orange juice
  • 100g dairy free dark chocolate, chopped into small pieces (an orange flavoured chocolate works well!)
  • 2 Teaspoons baking powder
  • finely zested rind of 1 large orange (if you're not using an orange flavoured dark chocolate, the rind of two small oranges would increase the jaffa flavour)
  • Chocolate icing of choice, with the addition of the finely grated rind of 1 orange (there are a couple of icing options in my book, Friendly Food for Chocoholics)

Method:
  • Preheat fan forced oven to 170 degrees Celsius (180 if not fan forced).  Line a 30 cm diametre round pizza tray with baking paper.
  • In a large bowl, combine the flour, salt and sugar.   Sift in the baking powder and mix well. 
  •  Add all wet ingredients and orange rind and stir until well combined and is able to come together in a thick mass (you're wanting cookie dough, not cake batter).
  • Stir in the chocolate pieces last.
  • Place the dough on your lined tray and push out with your hands or the back of a large spoon until it is evenly spread to the edges of the tray. Make sure it is smooth on top.  If the dough sticks to your hands or utensil, wet them a little (your hands, not the dough! ) and continue.
  • Bake in preheated oven for 20-25 minutes, or until lightly golden brown. Leave to cool completely so it firms up, and so you can ice it.
  • Remove to a serving plate (this works best by placing another plate on top of the cookie cake, flipping it over with the pizza tray still 'attached', so it is upside down on the plate, removing the pizza tray and baking paper, then placing the serving plate over the base of the cookie cake and inverting back the right way).
  • Spread evenly over the cake. Decorate with orange zest or grated chocolate or dusted cocoa.
  • I found this to be even better the following day- the cookie gets softer and a bit more cake-like.
Picture

Almond Chia Breakfast Slice

31/10/2019

 
Picture
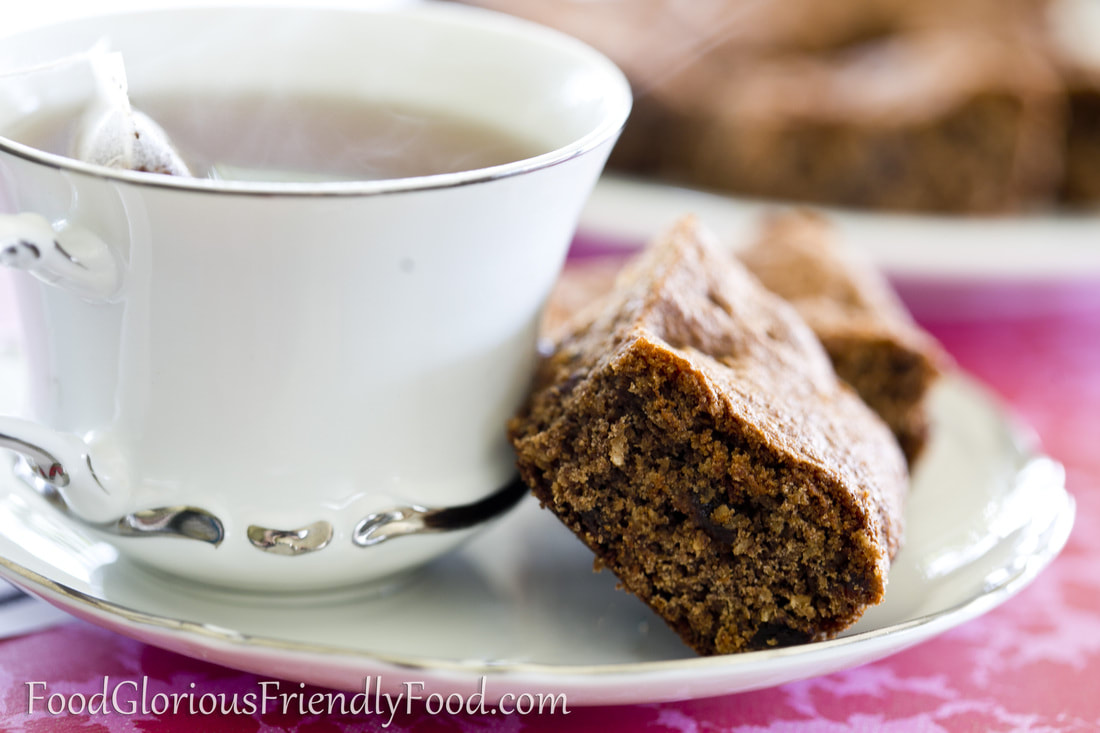
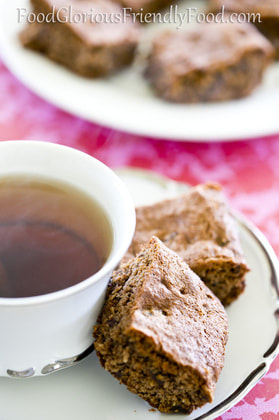
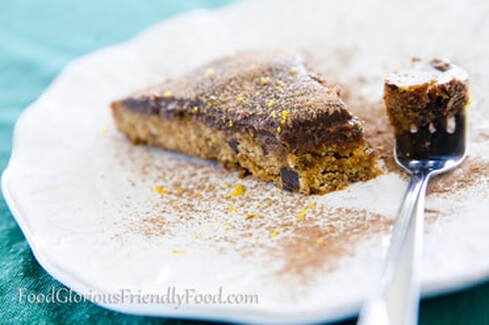
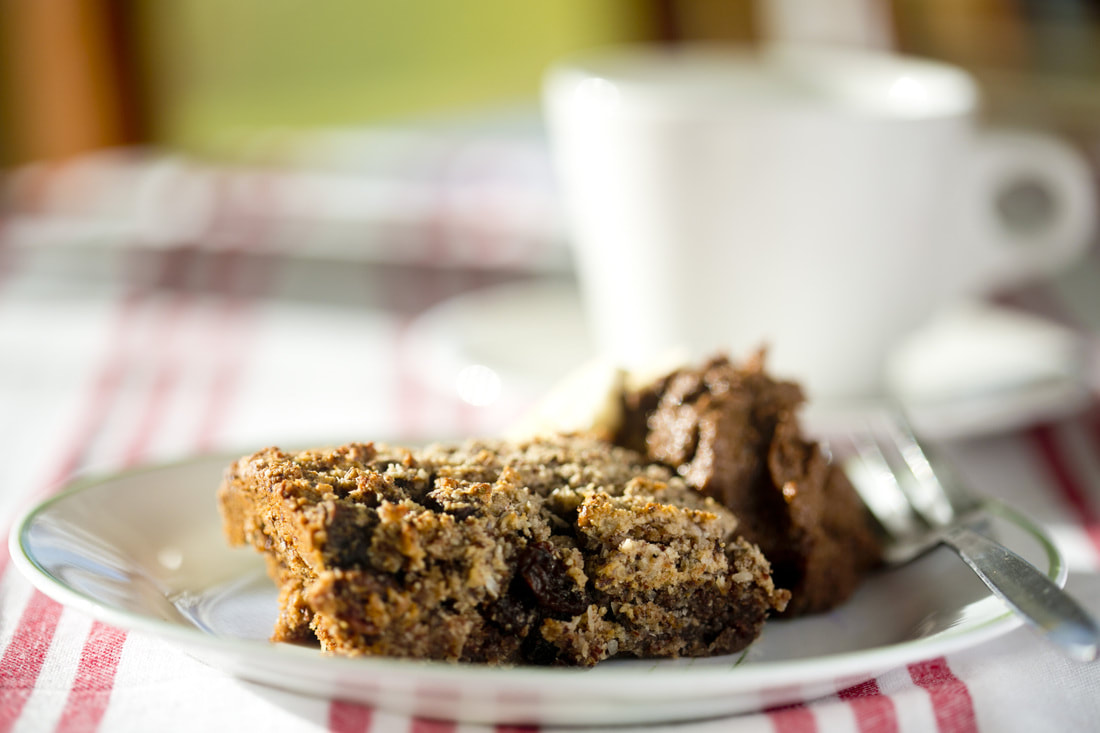
Gluten free - grain free - dairy free- refined sugar free - egg free - vegetarian
   
In my continuing quest to help inspire you all to make interesting, healthy, filling, ' Friendly' breakfasts,  I suddenly had the inspiration to convert a cookie recipe that I make regularly make something more breakfast-like.  The original recipe had egg in it and I decided I wanted to try and make it egg-free for those with egg allergies.  Replacing the egg with Chia worked really well. 
    Of course, this doesn't have to be eaten for breakfast.  It's pretty sweet (although only sweetened with honey) and these make a great lunch box snack too.  When eating for breakfast, I cut the slice into 12 pieces, but if using for a snack, I'd make it into 24.  It's really filling!  I have it pictured above with some Chocolate Avocado Mousse. 
    For something more indulgent you could replace the dried fruit with 100g of dark chocolate (says the chocoholic!!)
Picture
Picture
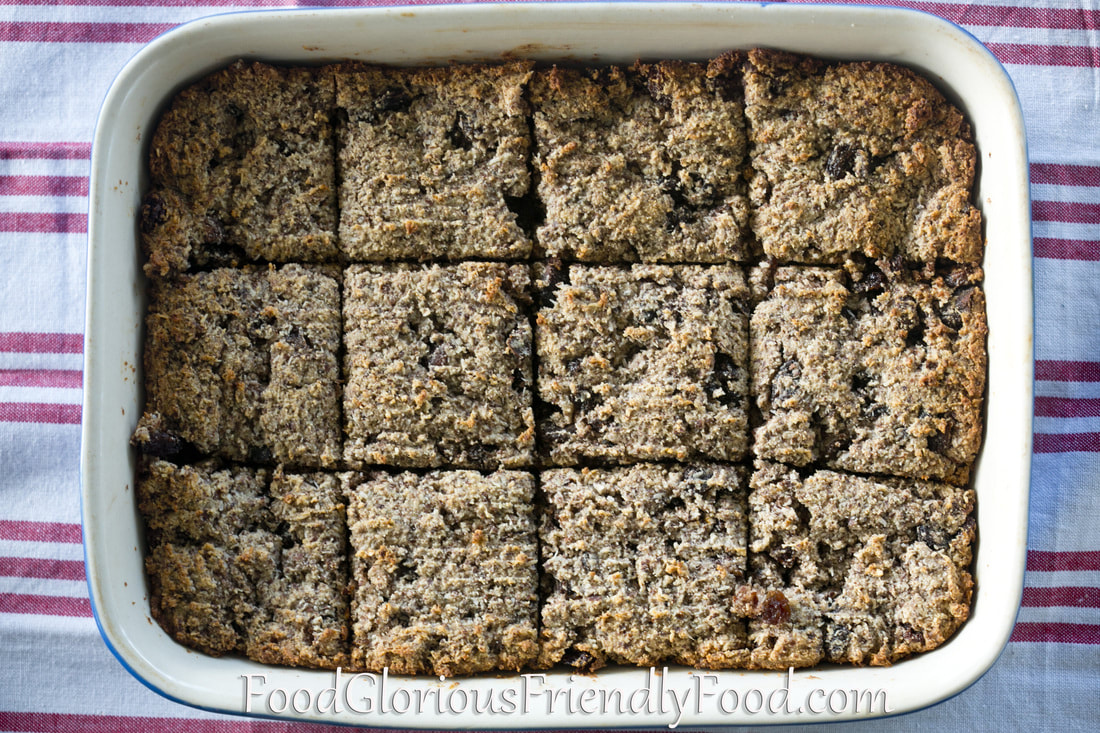
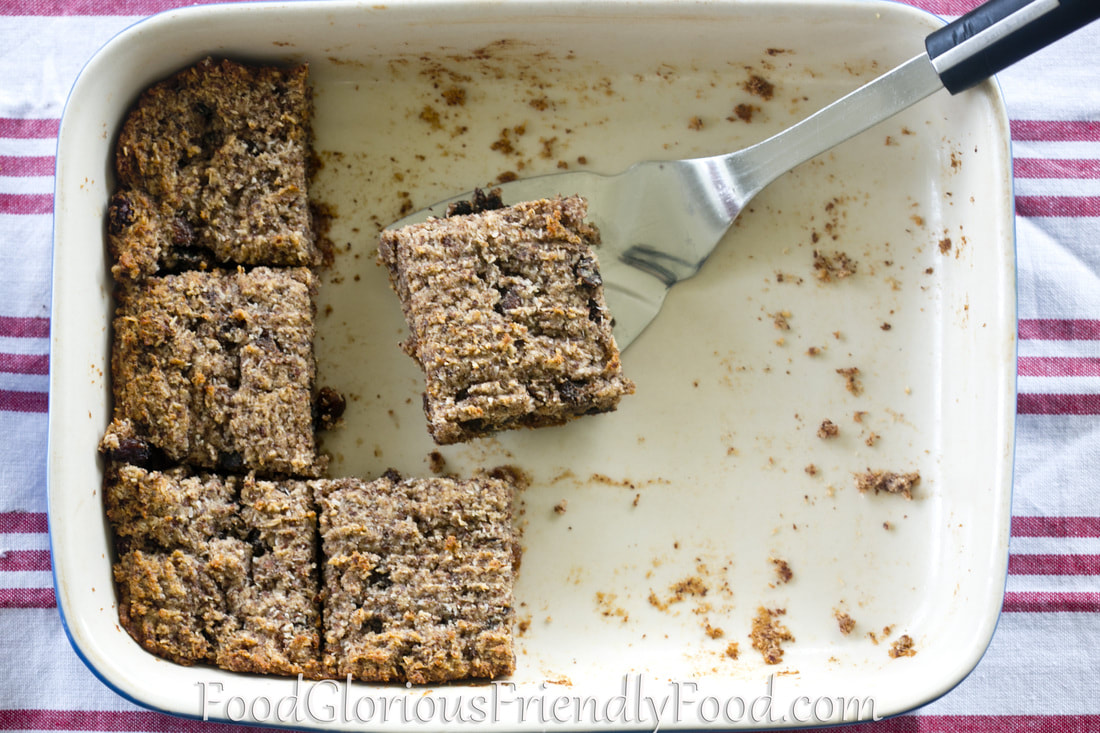
Serves 12 for breakfast, or 24 as a snack.
Ingredients
  • 2 tablespoons Chia seeds plus 6 tablespoons water
  • 4 cups almond meal
  • 1 tablespoon coconut flour
  • 1 teaspoon baking soda
  • 2 teaspoons cinnamon
  • 1 cup desiccated coconut (organic/preservative free)
  • 1 1/2 cups dried fruit of choice.  I use organic sultanas and apricots (chopped).  You could use chopped dates, currants, cranberries, gogi berries - anything really!
  • 1 cup (300g /10.5oz) honey (or less if you prefer)
  • 2 teaspoons vanilla extract
Method
  • Preheat oven to 150 degrees Celsius /300F. 
  • In a medium bowl, mix the Chia seeds and water together and leave to soak for 15 minutes
  • In a large bowl, place the almond meal, then sift in the coconut flour, baking soda and cinnamon.  Add the desiccated coconut and dried fruit. Stir until evenly mixed.
  • Once the chia seeds have soaked, stir, and add the honey and vanilla.  Stir or whisk until evenly mixed.
  • Add the wet ingredients to the dry ingredients and stir until completely incorporated.
  • Grease a 30cm x 22cm (12 x 9 inches) baking dish with coconut oil (or butter if tolerated).  Your dish could be a little smaller than this, but not larger.   Press the mixture firmly and evenly into the dish and smooth out the top with a spatula or fork. 
  • Bake in preheated oven for about 20 minutes, until nicely golden on top.
  • Leave to rest out of the oven for 15 minutes before slicing and serving (it needs time to firm-up). 
  • If you don't wish to serve it warm, leave it to cool to room temperature before removing from dish and storing in an airtight container in the pantry.
For more breakfast ideas, scroll my recipes here.
For more snack ideas, scroll through my recipes here.
Picture
<<Previous
Forward>>

    Categories

    All
    Baked
    Beef
    Biscuits And Slice
    Breakfast
    Cakes Muffins Brownies
    Chicken
    Chocolate
    Christmas
    Dinner
    Dips And Sauces
    Drinks & Ice Blocks
    Easter
    Fruit
    Lunch
    Lunch Boxes
    Meat
    Paleo
    Pastry
    Pork
    Preserves
    Raw
    Salad
    Seafood
    Snack
    Soup
    Sweet
    Vegetarian

    See my book:  friendly food for chocoholics
    Weight and Temperature Conversions
Proudly powered by Weebly
  • Home
  • Recipes
  • About Me
  • Weight and Temperature Conversions